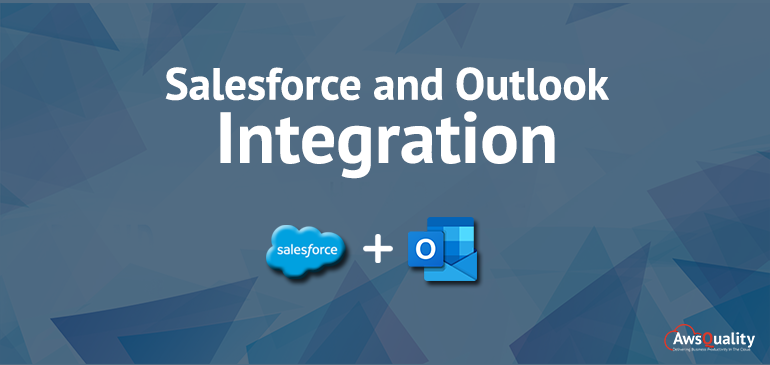
A powerful tool for managing your sales pipeline and keeping track of customer interactions is Salesforce to Office 365 Integration. You can easily access your crucial information from anywhere using the Salesforce Outlook Sync feature.
You’ll learn how to use the data in both applications and how to set up synchronization between Salesforce and Outlook in this article.
Also Check: How can Salesforce and Outlook Integration Optimize Sales Process?
Describe Outlook
Users can send and receive emails on their computer using Outlook, also known as Microsoft Outlook, which serves as a personal manager of Microsoft’s information. Managing various sorts of personal data, including entries, contacts, calendar appointments, events, and notes, is made much easier with the help of Outlook’s additional functions.
By accessing their Microsoft Exchange Server email, Microsoft Outlook runs its main service, which permits the exchange of emails. The two versions of Outlook are paid and unpaid. Outlook’s free edition is built on feature-constrained browsers. Some customers may decide to use the free version instead of purchasing a Microsoft 365 subscription if they don’t require the complete product.
Set Up the Outlook Integration
- Click the gear icon, and select Setup.
- In the Quick Find box, enters Outlook, select Outlook Integration, and Sync.
- Turn on the Outlook integration.
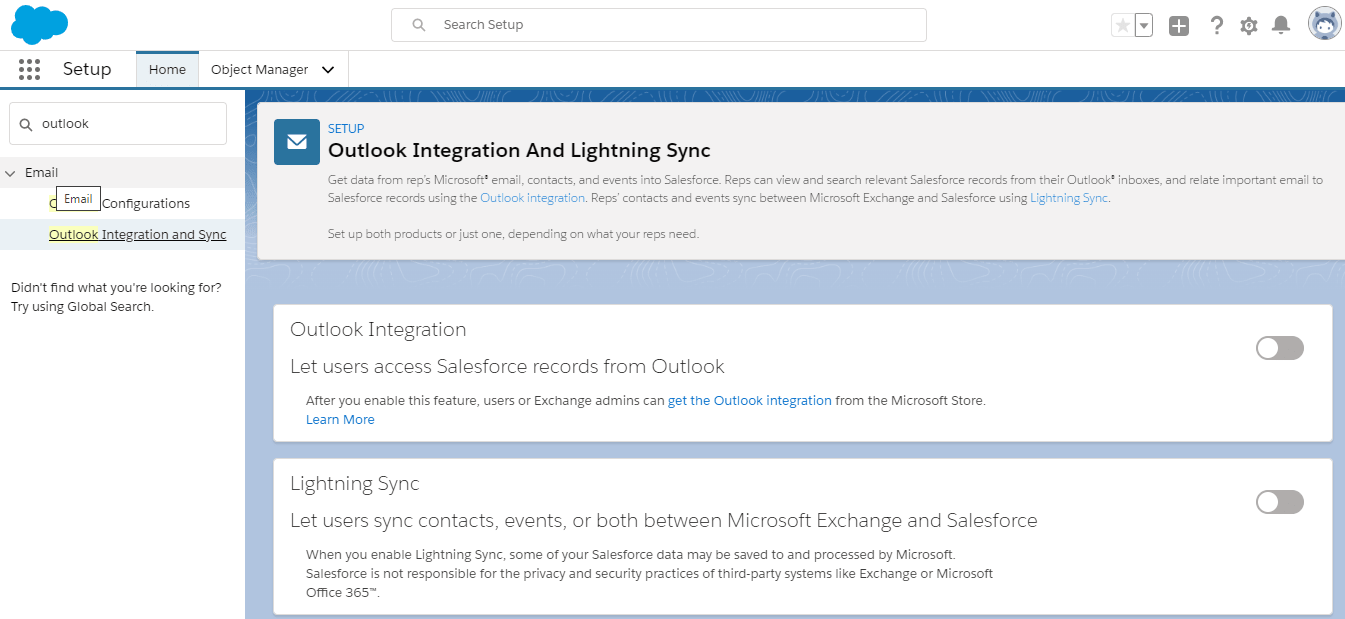
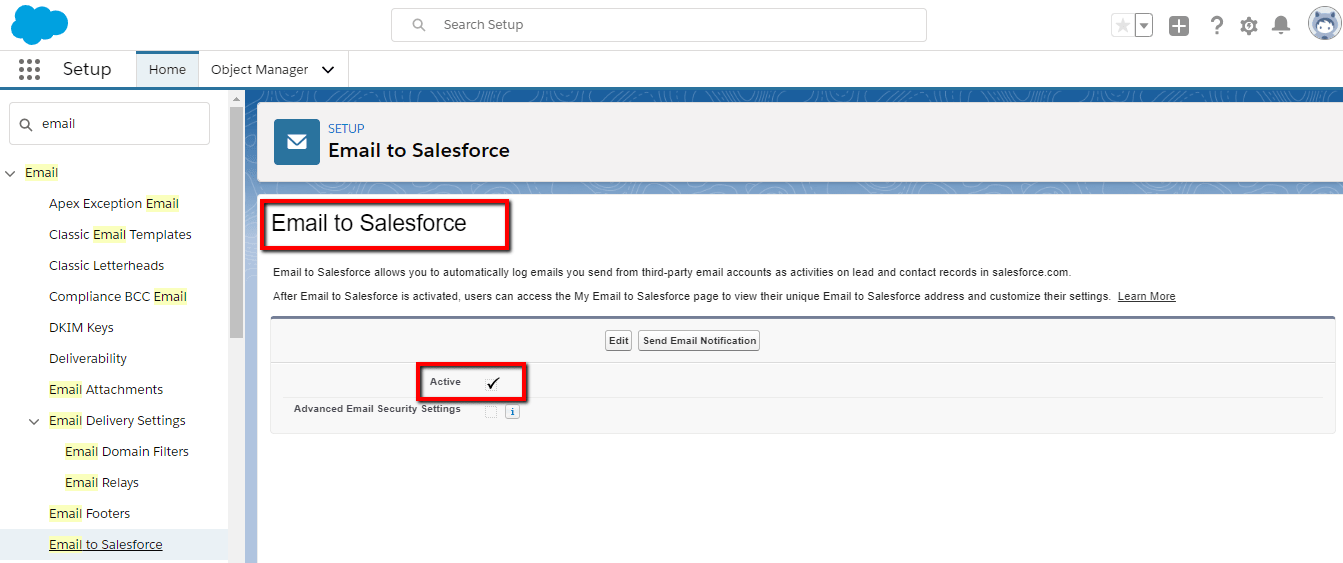
- Let reps link freshly composed email messages to records on Salesforce. Turn on Use Enable Enhanced Mail to Salesforce with Outlook and Email.?
- Give instructions to your Sales Reps to set up Microsoft Outlook integration.
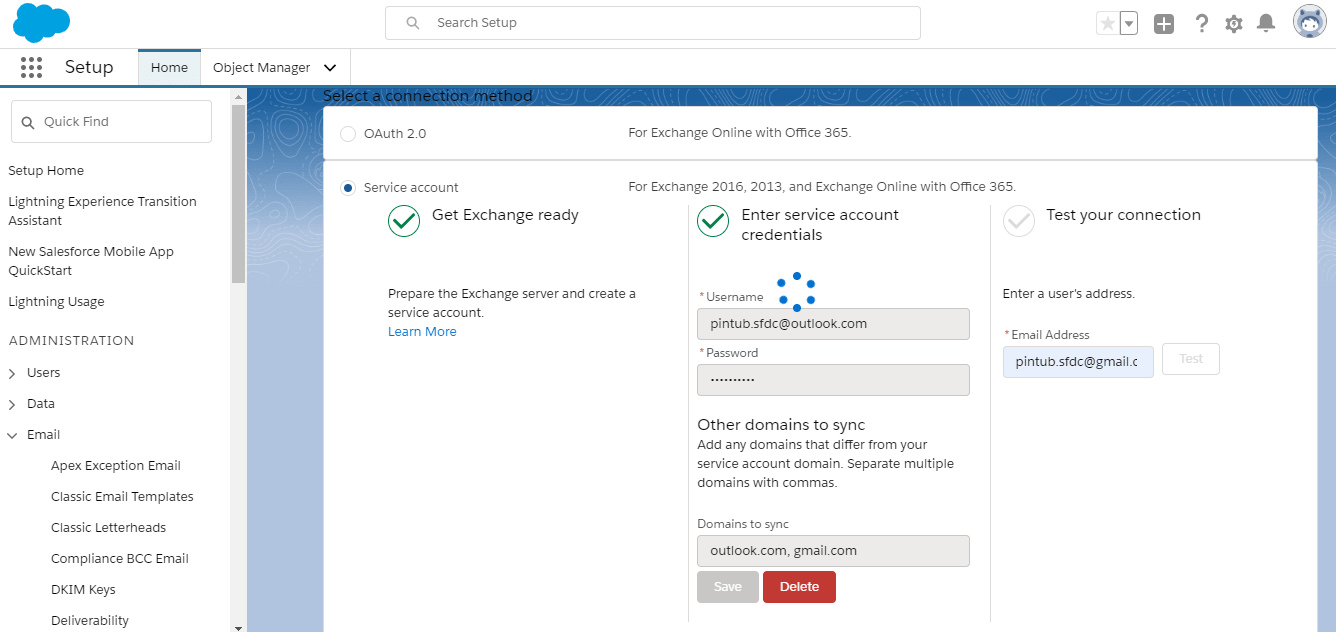
Set Up Lightning Sync
These measures provide descriptions of the high level you need to set up Lightning Sync. And where it?s necessary, we include links to nitty-gritty details in Salesforce Help.
- Enable Lightning Sync. Enter Sync in the Quick Find box, and select Outlook Integration and Sync.

- Select how you connect to your email server. Get more information on how to choose and configure a method for connecting to Microsoft Exchange.
- Conduct the Lightning Sync connection test to validate that it can interact with your Exchange server. The test scans multiple connectivity points between Salesforce and your Exchange server. It provides a summary describing the status of your connection. See detailed instructions to run this test.
- Define sync settings for your sales reps. This definition includes decisions such as:
- Who can sync and what types of items they can sync when the test is complete?
- Whether you want to limit items.
- What happens if a rep will delete an item from Outlook or Salesforce?
Get guidance about these decisions and detailed sync setup steps.
- Prepare your reps for managing the contacts that sync. Depending on how you configure the syncing options, your reps can sync contacts from Exchange to Salesforce or sync both ways. Get tips on guiding your reps through the sync process.
- Tell your reps how they can prevent certain events from syncing. What happens if a rep will delete an item from Outlook or Salesforce?
Get guidance about these decisions and detailed sync setup steps.
Customize the Outlook Integration Pane
Customizes features to give reps the best selling experience after finishing the basics for setting up the integration with Outlook and Lightning Sync. Here?s how.
- In the Quick Find box, enter Outlook, and select Outlook Integration and Sync.?
- Consider enabling those options in Outlook to optimize the experience of your reps.?
- Enable Enhanced Outlook Email. Instead of adding email messages as tasks to Salesforce, sales reps add such messages as email messages. That way, it is a better experience.?
- Customize content with Lightning App Builder. You get loads of flexibility to customize how content on Salesforce appears in Outlook. Learn how Lightning App Builder can be used to make your reps even more successful.
Adding Emails, Events, and Tasks to Salesforce Records
- Select an email in Outlook.
- When you pick an email from the content of Inbox Salesforce that appears in the side panel that displays the contacts and leads. To open it directly in Salesforce, click the link on a record. Email attachments will be included automatically while you are adding an email to Salesforce.
Syncing Your Events, and Tasks:
Right-click the item you selected. then choose Categorize > Sync with Salesforce. The items automatically sync up during the next sync cycle. ?If multiple selections use CTRL/SHIFT.
So that’s it, go ahead with salesforce outlook integration. If you’re facing any challenges and I’d be sailing through you.
Get Access to Salesforce in Outlook
- Click add-ins in Outlook, and download Salesforce from the store.
If you don’t have access to the store, see your Salesforce administrator about how to proceed.? - Open the File menu in Outlook, and then pick Manage Add-ins.?
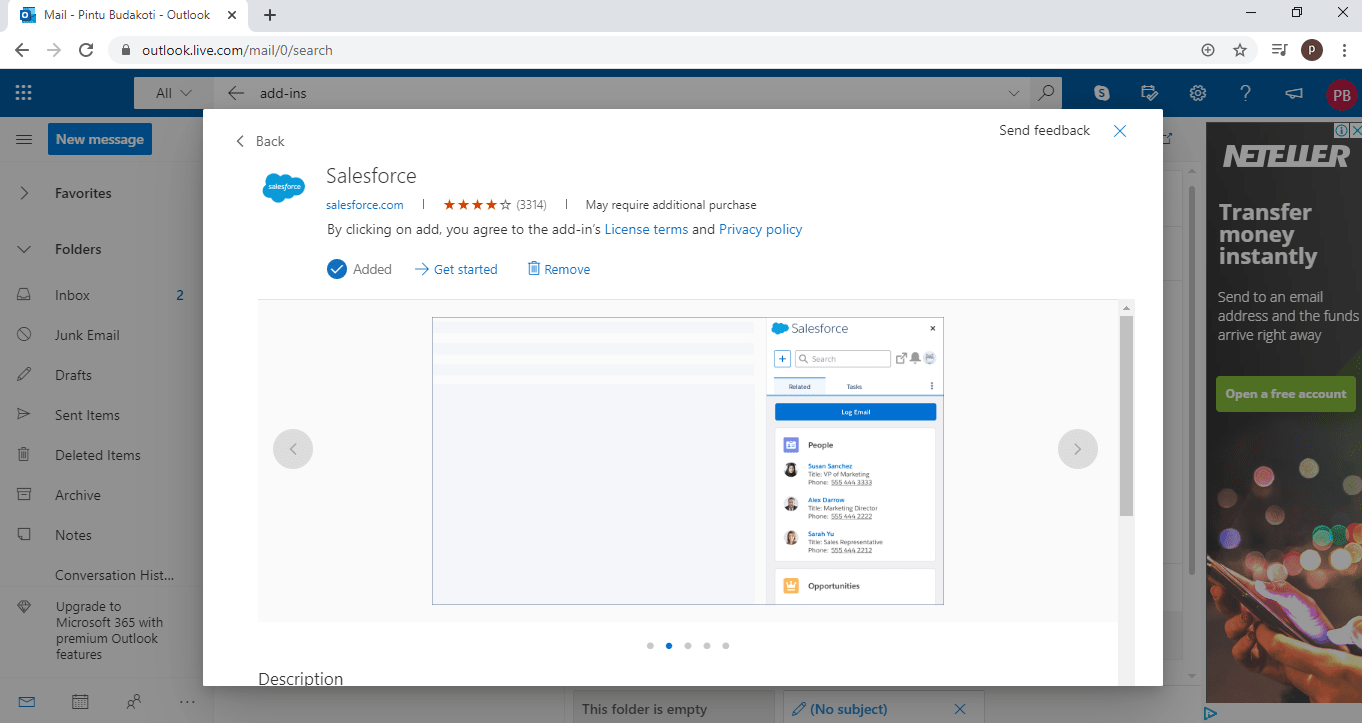
- Set the Salesforce app to Turned On.
- To open the app, click on the Salesforce icon to read or write an email.?
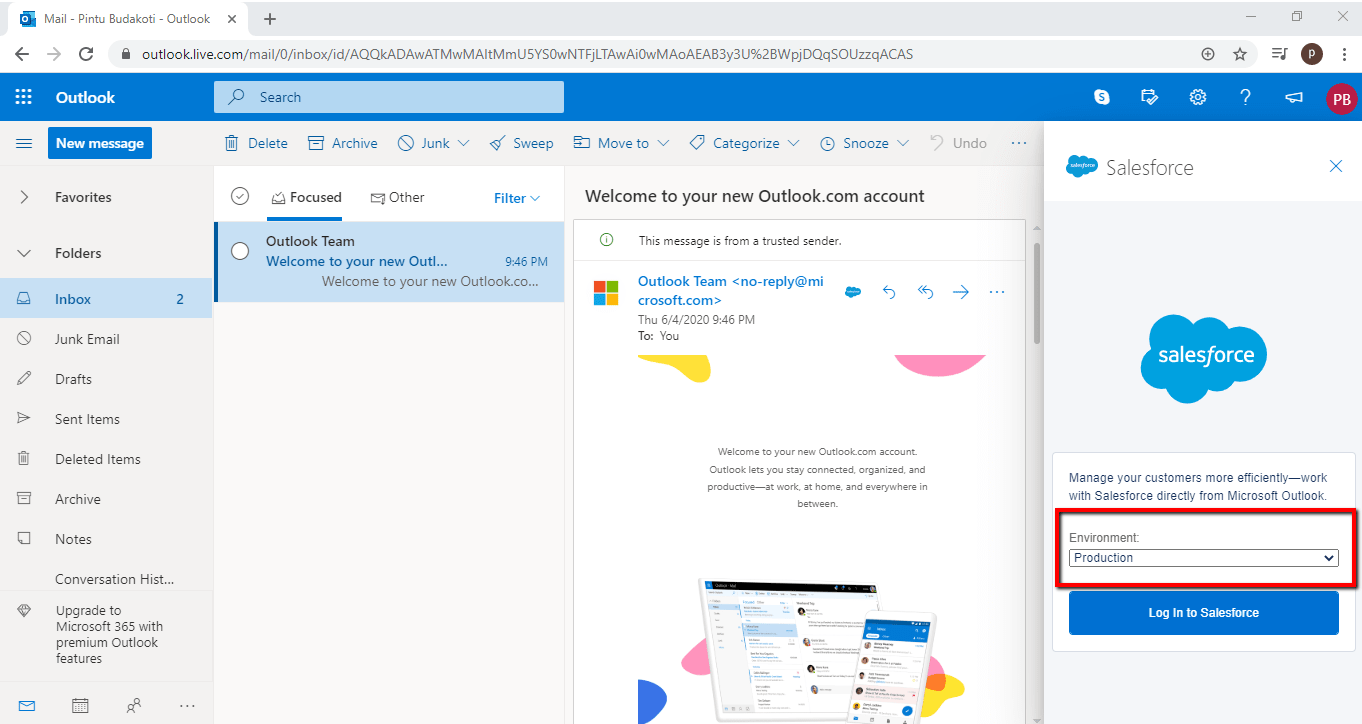
- Using your username and password to sign in to Salesforce.
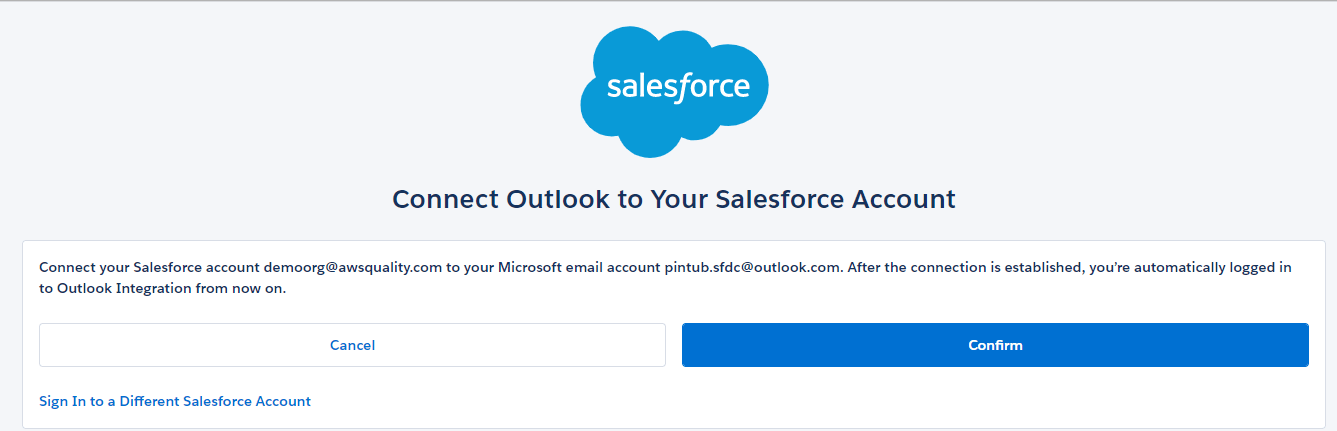
- Confirm getting your email address linked to Salesforce when asked.
Benefits of integrating Outlook with Salesforce
1. Sales generation
For generating sales for an organization, Outlook and Salesforce can be effective tools. The routine workflows would be greatly automated if Outlook and Salesforce were integrated. This would make it possible for the sales department to use Outlook to contact new customers, set up appointments, and handle client information. Salesforce, on the other hand, is one of the best tools for controlling and monitoring sales operations, from closing deals to creating leads.
2. Email replying actions
After linking the two, Salesforce enables users to respond to email actions using Outlook. Enabling the benefit of responding to any email or other connected tasks through Outlook, decreases the difficulty and time commitment.
3. Integrating Salesforce Calendar with events
The synchronization of Outlook’s calendar with Salesforce’s calendar is made possible by the integration of the two programs. Organizations can avoid having to update their calendars independently thanks to this, and the constant updating between events is also made less time-consuming because of the syncing.
4. Entering data
Numerous problems may arise as a result of often moving between Outlook and Salesforce. As a result, many companies have thought about and started to combine Outlook and Salesforce to prevent data entry issues. With this interface, managing Salesforce data in Outlook without using customer relationship management is simple, and it also improves sales representative performance.
Salesforce for Outlook, like everything else, has some restrictions. Lightning for Outlook requires Outlook 2013 for Windows, despite Salesforce’s invitation for users to switch to it and the Salesforce Outlook Integration Office 365 after the program is decommissioned.
People have complained that the integration might load more quickly and has several other problems. To obtain the necessary data, organizations must switch back and forth between Salesforce and Outlook.
Few Brief Pointers in Case you Run into Any Integration Issues
The following troubleshooting advice should be taken into account if you have issues with the Salesforce Outlook integration:
- Check that you are running the most recent versions of Outlook and Salesforce.
- Ascertain that your Outlook and Salesforce settings are right.
- Check to see if your computer has a reliable internet connection.
- Restart both your PC and Outlook.
- If you are still having issues, please contact Salesforce support.
A Conclusion
Even if some of the processes can be complicated, the connection between Salesforce and Outlook makes it easier to grasp how to go about carrying them out. There are several reasons why some organizations may find it vital to Salesforce Email Integration Outlook, including the fact that doing so not only saves the salespeople’s time but also eliminates the need for them to enter data into two different programs. Regarding the difficulties, AwsQuality has several professionals with years of expertise in the Salesforce field available to help you at every stage of the Microsoft Outlook Integration With Salesforce procedure.
Do you need help simplifying your obstacles??Check out our?Salesforce integration services?or?contact us?for more information.!
 Bio
Bio