Branding is a way to inspire the customer, concretize consumer satisfaction, and convey the message clearly. After Salesforce Winter’14 releases any organization that uses Salesforce, can customize the Salesforce login page.
What are the Prerequisites?
At least one Domain is enabled for your organization. To check this enter Domain Management in Quick Find Box and click Domains, then check whether a domain is enabled for your salesforce org. or not. If you want to add a Domain and don’t know how to do that, then click on the link (Adding a Domain).
To customizing your login page follow the instruction
- Go to Name | Setup | Administration Setup | Domain Management | My Domain.
- Click on the Edit button under the ‘Login Page Branding‘ section.
Customize branding page
- If you want to customize your logo, upload an image.
- Note :- Images can be .jpg, .gif or .png files up to 100 KB in size. Maximum image size is 250px by 125px.
- If you want to change your login page background, it’s very easy to click the color picker or enter a valid hexadecimal color code.
Background Color
- Change right side iframe on the login page, enter URL to ‘Right Frame URL‘ Box.
Right Frame URL
Important note: – Content must be available at a URL that uses SSL encryption and the https:// prefix. Maximum content size is 478px by 397px.
- Optionally, you can opt to use additional authentication services on your login page.
- To save your work, finally, click the Save button.
- Logout from salesforce now and go to the login page using your domain as it is for me(https://demoawsquality-dev-ed.my.salesforce.com/servlet/networks/switch?networkId=0DB5w00000003go&).
Salesforce Branding
- From Setup, enter Salesforce Branding in the Quick Find box, then select Edit.
- Customize the brand color for key user interface elements, including the header, click Select a color or enter a valid hexadecimal color code.
- Customize the background color of the loading page, by clicking Select a color or enter a valid hexadecimal color code.
- Customize the loading page logo, by clicking Choose File to upload an image e.g. .jpg, .gif, or .png files up to 200 KB. The maximum image size is 460 pixels by 560 pixels.
- Click Save.
Consideration Tips
In conclusion, it’s highly advisable to consider the following tips when customizing the branding of the Salesforce App:
- Be sure to compress your logo image before you upload it to your app.
- Verify that your logo appears correctly on all devices.
- Salesforce supports .png, .gif and .jpg formats but it is recommended that you always upload a .png version because it provides the best results.
- UI elements that cannot be customized:
- Salesforce app icon appears on the home screen of the mobile device.
- Initial loading screen when launching Salesforce for iOS.
- Mobile users must close the app and then login again to see the custom branding changes.
- When a user switches between two orgs that have custom branding loading pages, they see the loading page for the previous org until the branding for the new org is available.
Community Setup
Using Standard Theme
- Enable Community by entering Community Settings in Quick Find Box.
- Then you need to Configure Community…
- Create it by clicking on the New Community button.
- Then we need to choose a default template from the available options accordingly.
- Then we need to click on the Get Started button from the template we have chosen.
- Then we need to provide name and post URL text to the template
- Then from Administration, we have to activate the community, we can also change the Template from Administration
- Then from Builder —–> Click on Settings —–> Theme —–> Configure —–> Default(We can change theme from here).
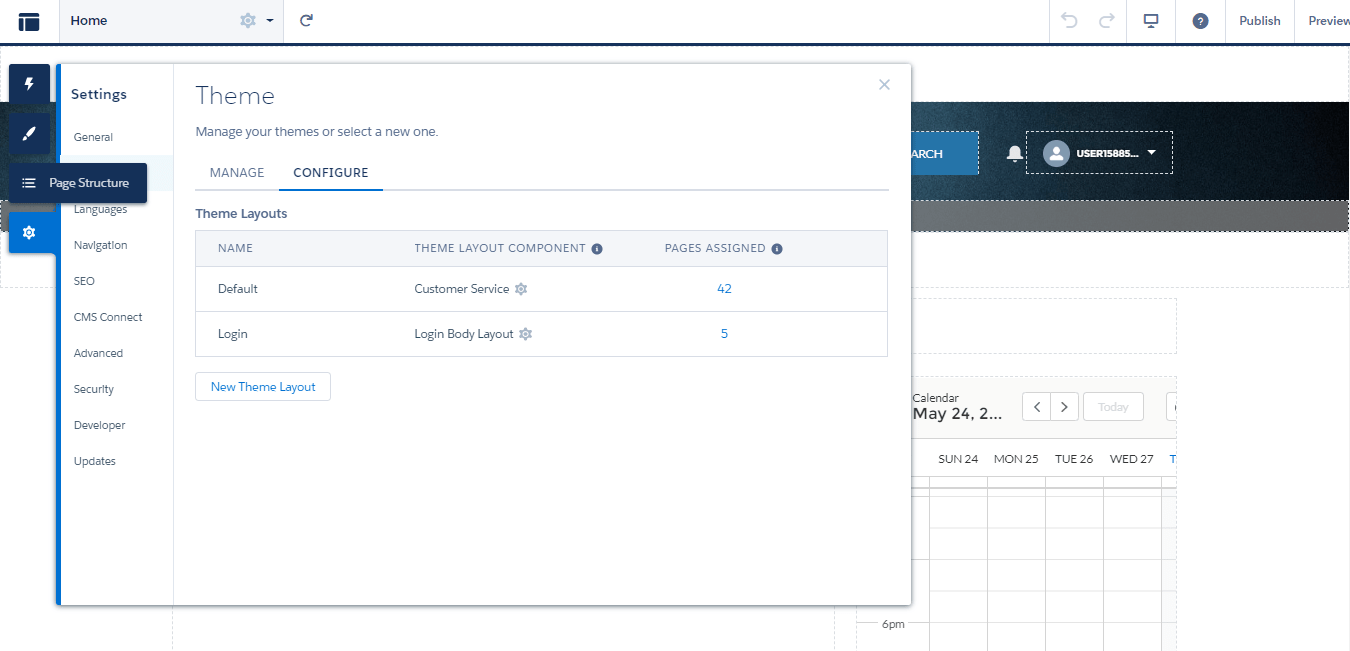
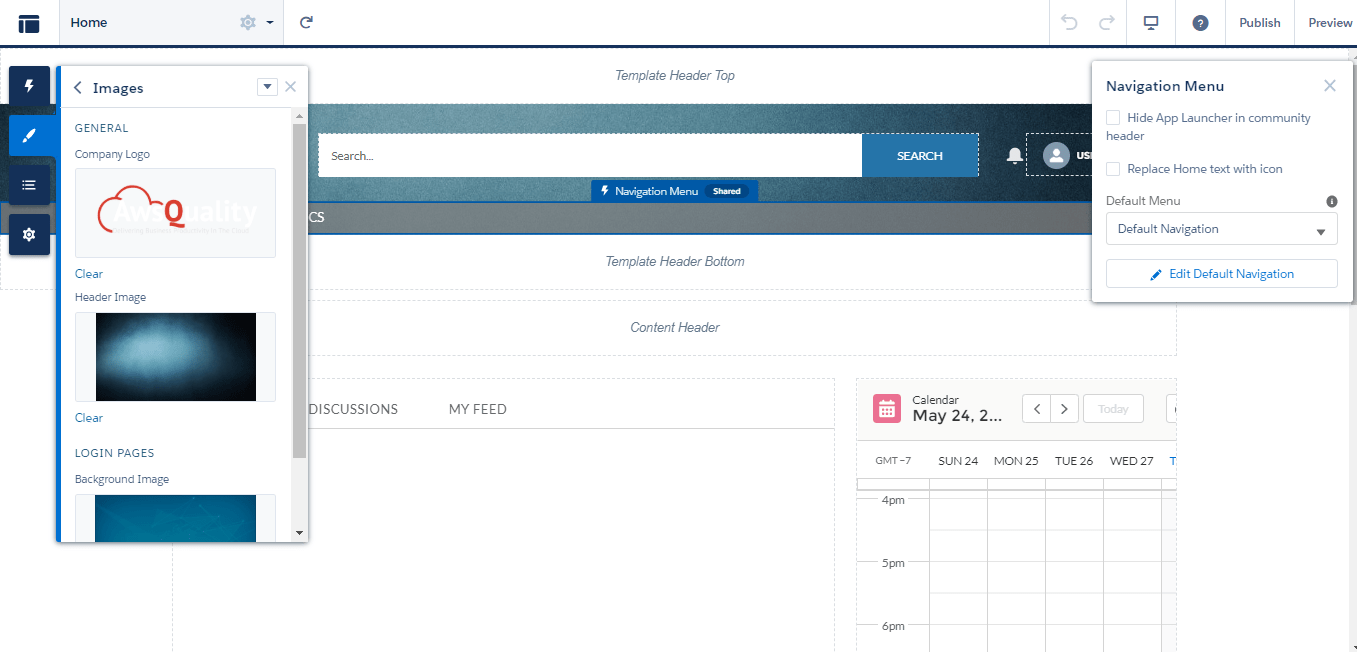
- Then we need to upload the logo image for a header from Builder ———-> Theme ——-> Copy logo URL by inspect element.
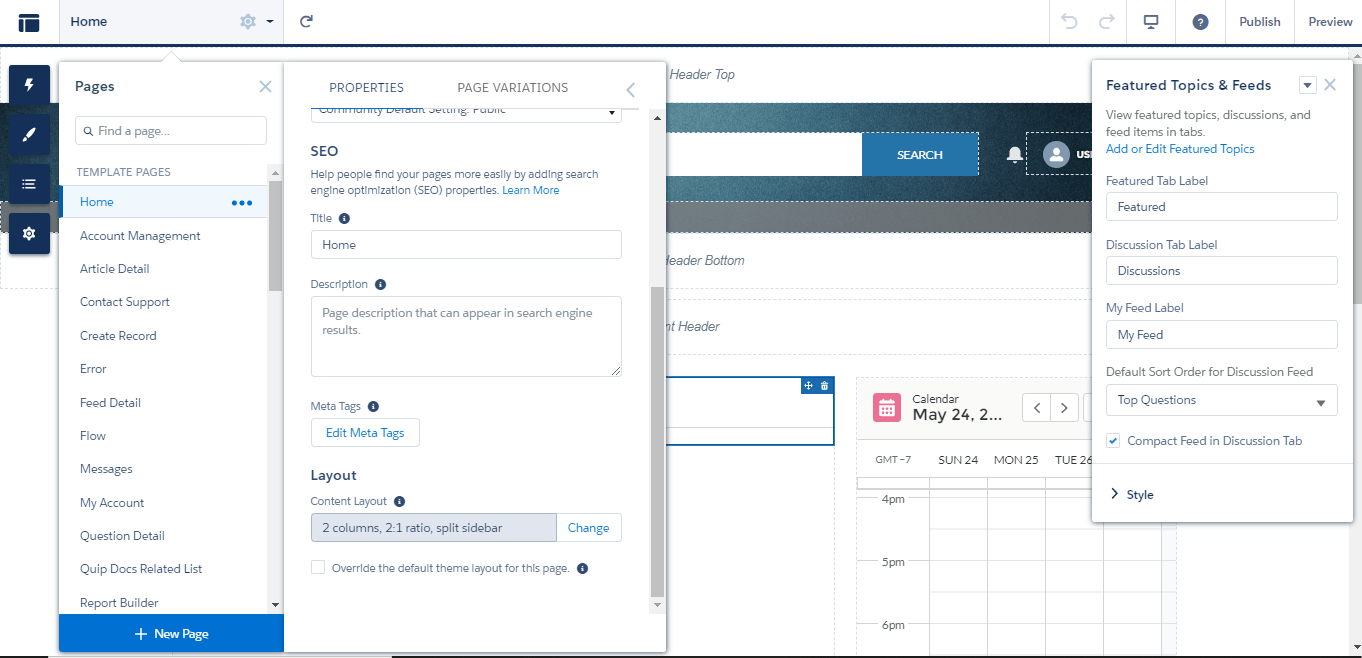
- Then we need to select the layout from Builder, for this click on Settings option from Home ——-> Properties ————>Layout ——-> 2 columns, 2:1 ration, split sidebar.
- Then from the builder, we have to drag and drop our Components like
- Header

- Navigation
![]()
- Featured Topics and Feeds
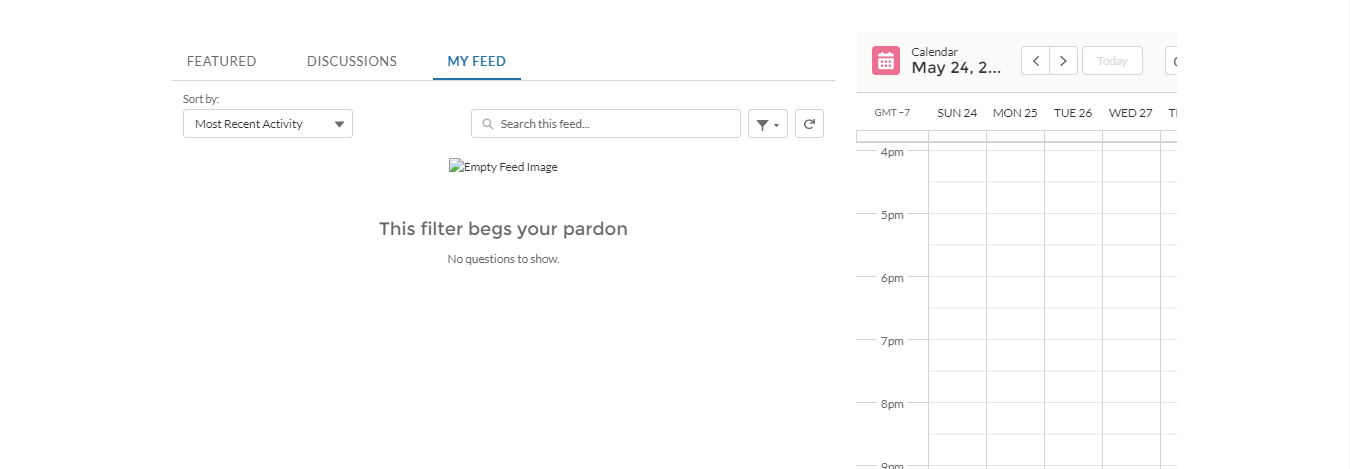
- Calendar
- Footer

- Then click on Publish on the top of the Builder page.
- Then check for the community from Community URL. Enter All Communities in Quick Find Box, and click on the URL of the community which we have just created.
Using Standard Theme and VisualForce Page
- Enable Community by entering Community Settings in Quick Find Box.
- Then you need to Configure Community.
- Create it by clicking on the New Community button.
- Then we need to choose a default template from the available options accordingly.
- Then we need to click on the Get Started button from the template we have chosen.
- Then we need to provide name and post URL text to the template
- Then from Administration, we have to activate the community, we can also change the Template from Administration
- Then from Builder —–> Click on Settings —–> Theme —–> Configure —–> Default(We can change theme from here).
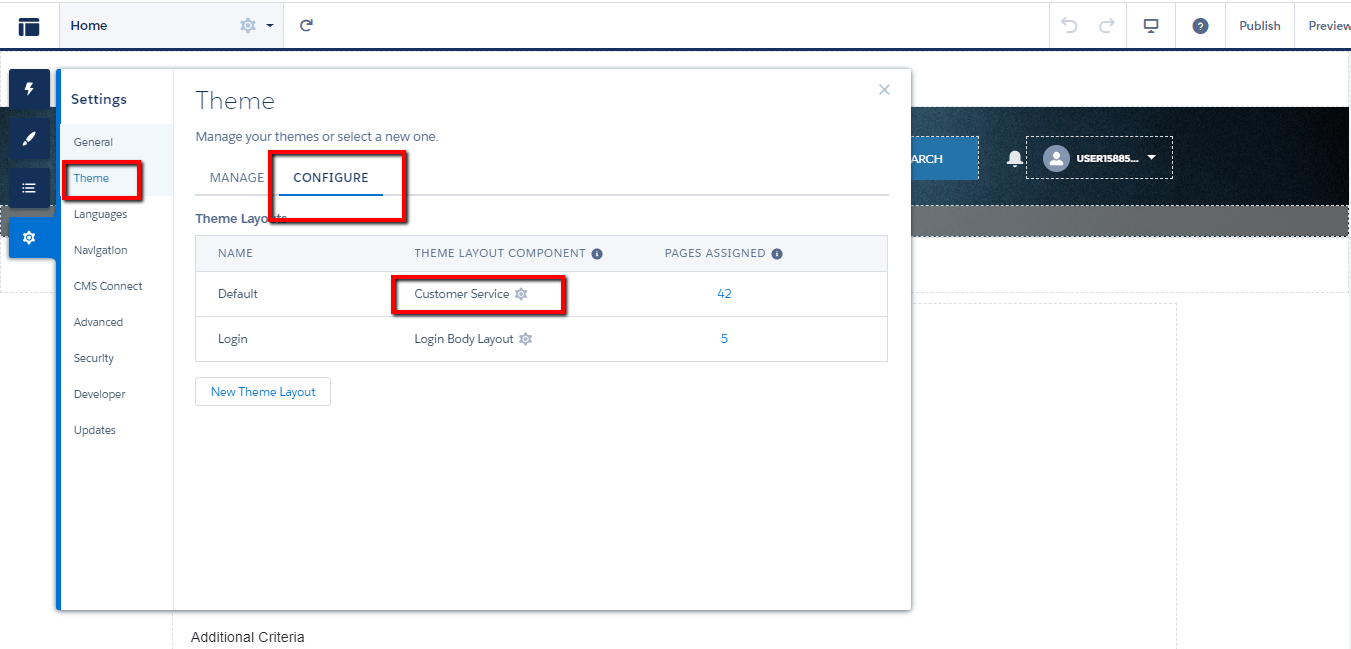
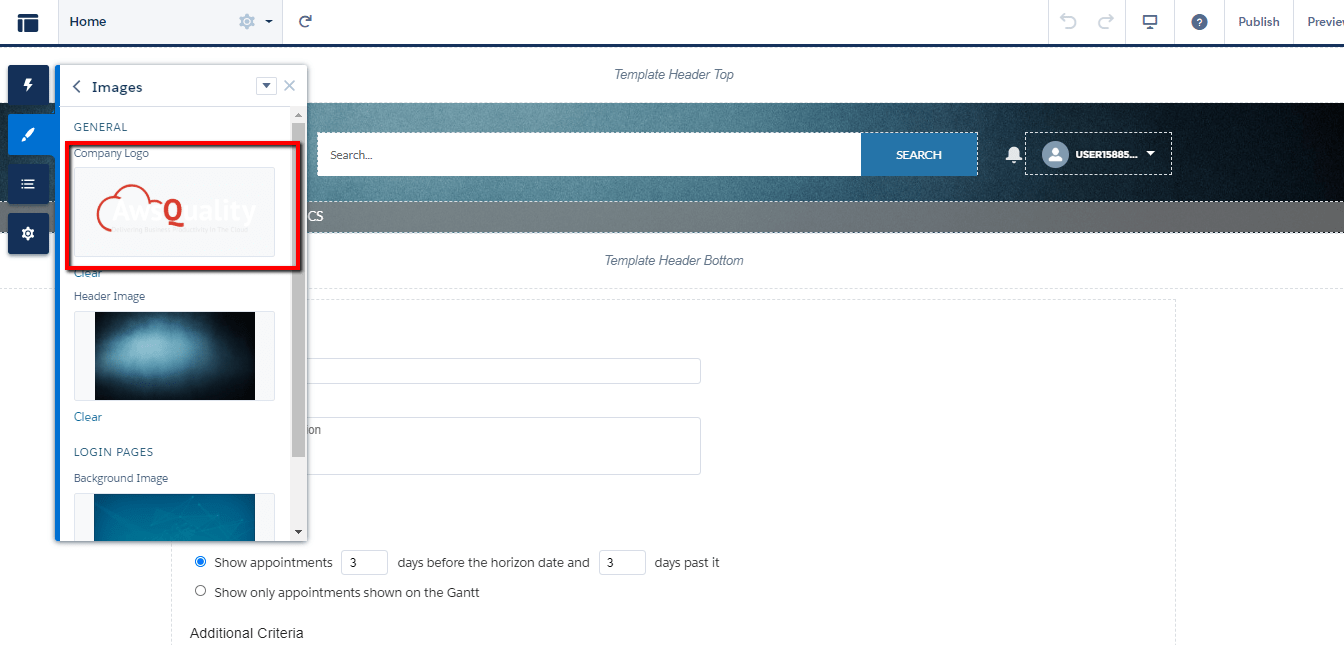
- Then we need to upload the logo image for the header from Builder ———-> Theme ——-> Copy logo URL by inspect element.
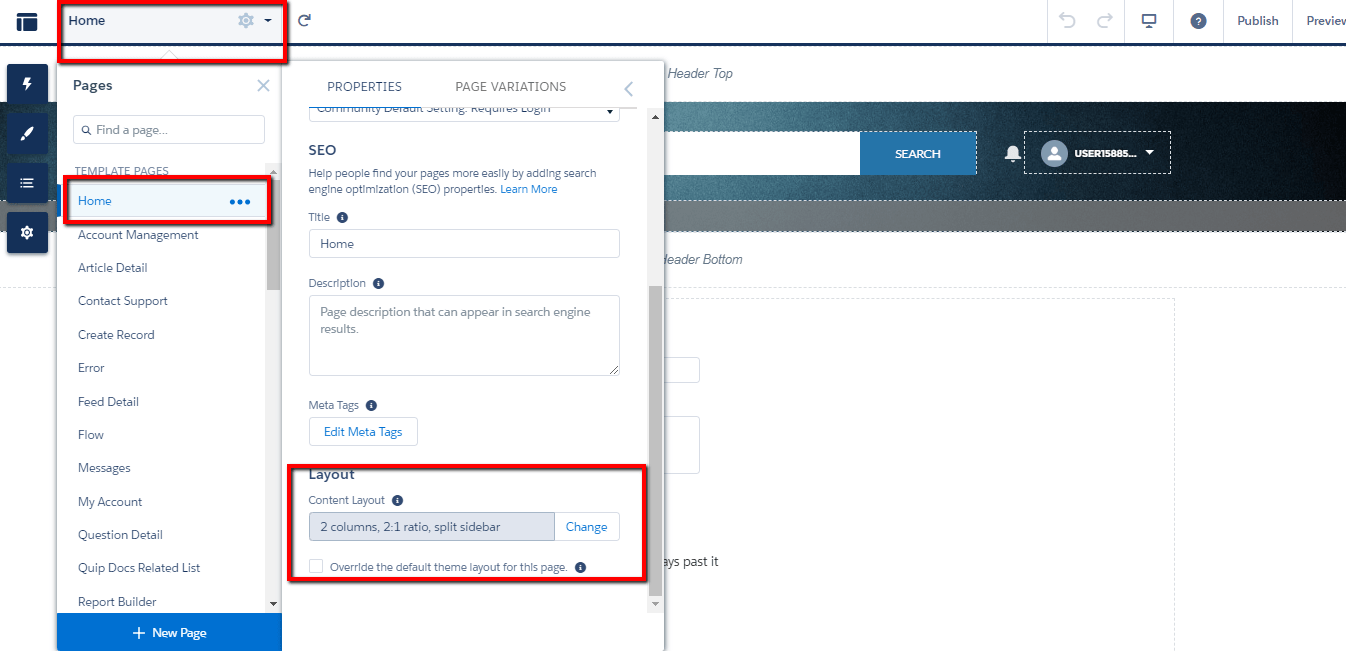
- Then we need to select the layout from Builder, for this click on Settings option from Home ——-> Properties ————>Layout ——-> 2 columns, 2:1 ration, split sidebar.
- Then from the builder, we have to drag and drop our Components like
- Header

- Navigation
![]()
- Visualforce Page
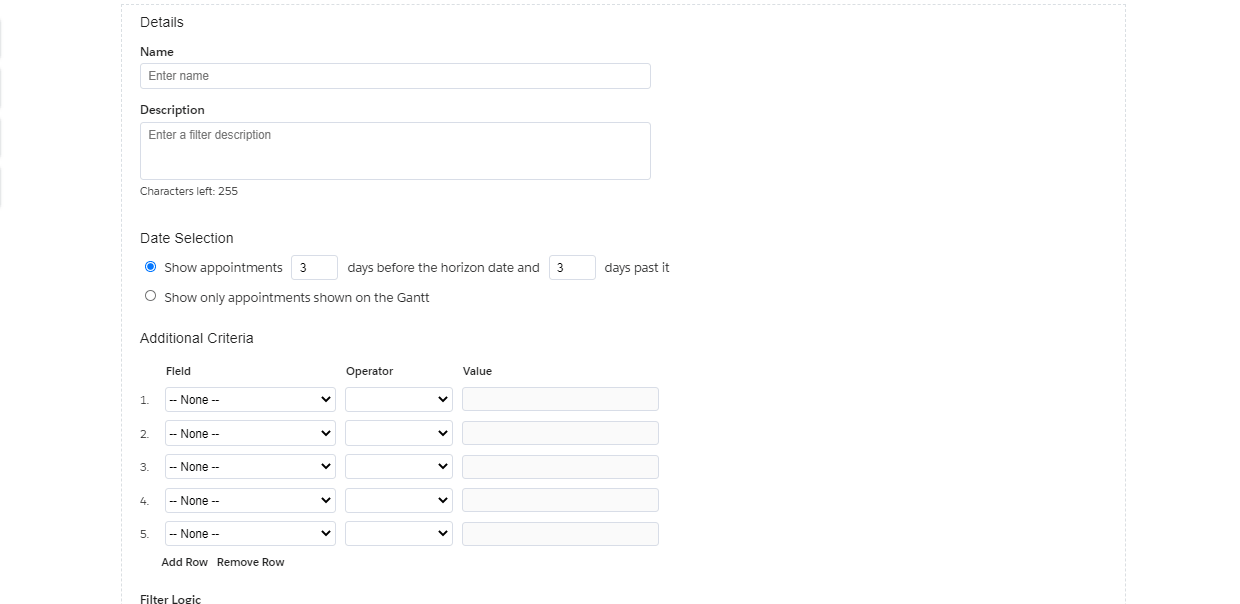
- Footer

- Then click on Publish on the top of the Builder page.
- Then check for the community from Community URL. Enter All Communities in Quick Find Box, and click on the URL of the community which we have just created(https://demoawsquality-developer-edition.na172.force.com/CommunityVfPage/s/).
Using a Custom Theme
- Install both packages in the desired/destination Org:
- Managed Release Package: https://login.salesforce.com/packaging/installPackage.apexp?p0=04t1U000007XyWF
- Unmanaged Release Package: https://login.salesforce.com/packaging/installPackage.apexp?p0=04t2v000001fzj0
- Then create a custom theme for community usage(Lightning Component).
- Then create Components from Components Tab:-
- ( Note:- We have to create components from Lightning, and needs to prefix tile_ before the images for Articles and Events and Carousel_ before Images for Carousel.)
- Navigation
- Carousel
- Events
- Then we need to enable Community by entering Community Settings in Quick Find Box.
- Then we need to Configure Community.
- Create it by clicking on the New Community button.
- Then we need to choose a default template from the available options accordingly.
- Then we need to click on the Get Started button from the template we have chosen.
- Then we need to provide name and post URL text to the template
- Then from Administration, we have to activate the community, we can also change the Template from Administration.
- Then from Builder —–> Click on Settings —–> Theme —–> Configure —–> Default(We can change theme from here)
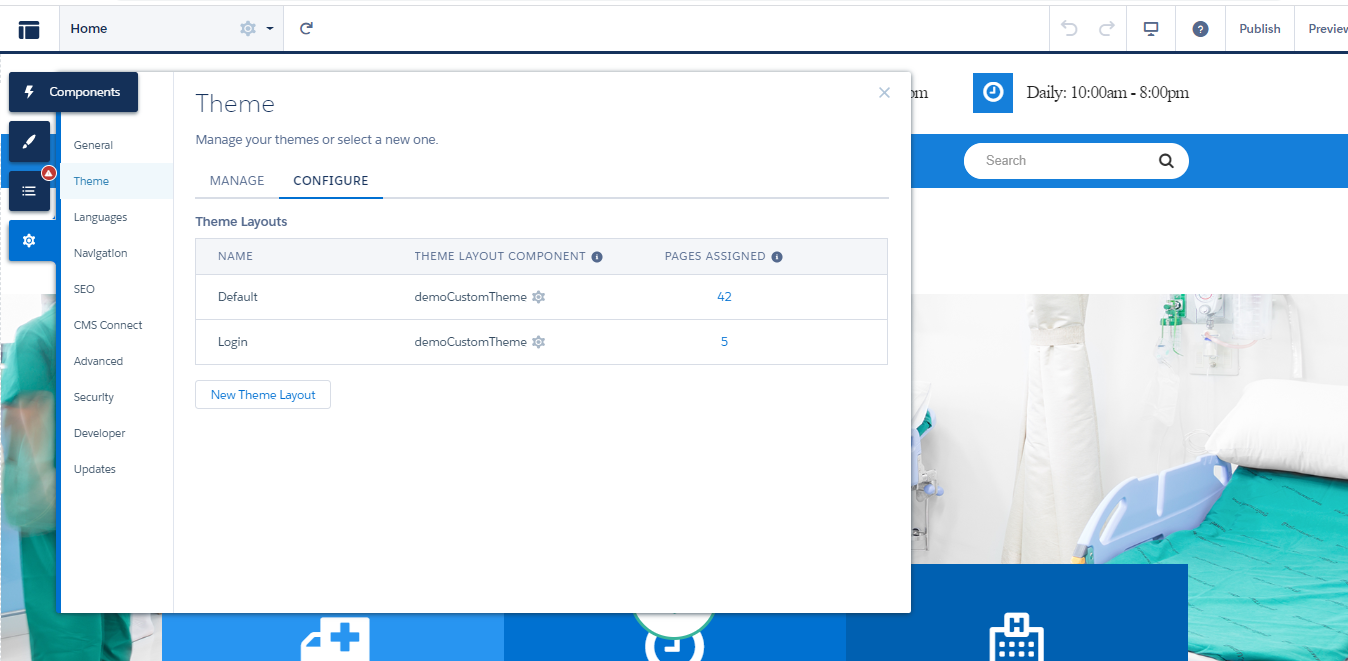
- Then we need to upload a logo image for the header from Builder ———-> Theme ——-> Copy logo URL by inspect element.

- Then we need to select a layout from Builder, for this click on Settings option from Home ——-> Properties ————>Layout ——-> 1 full-width column.
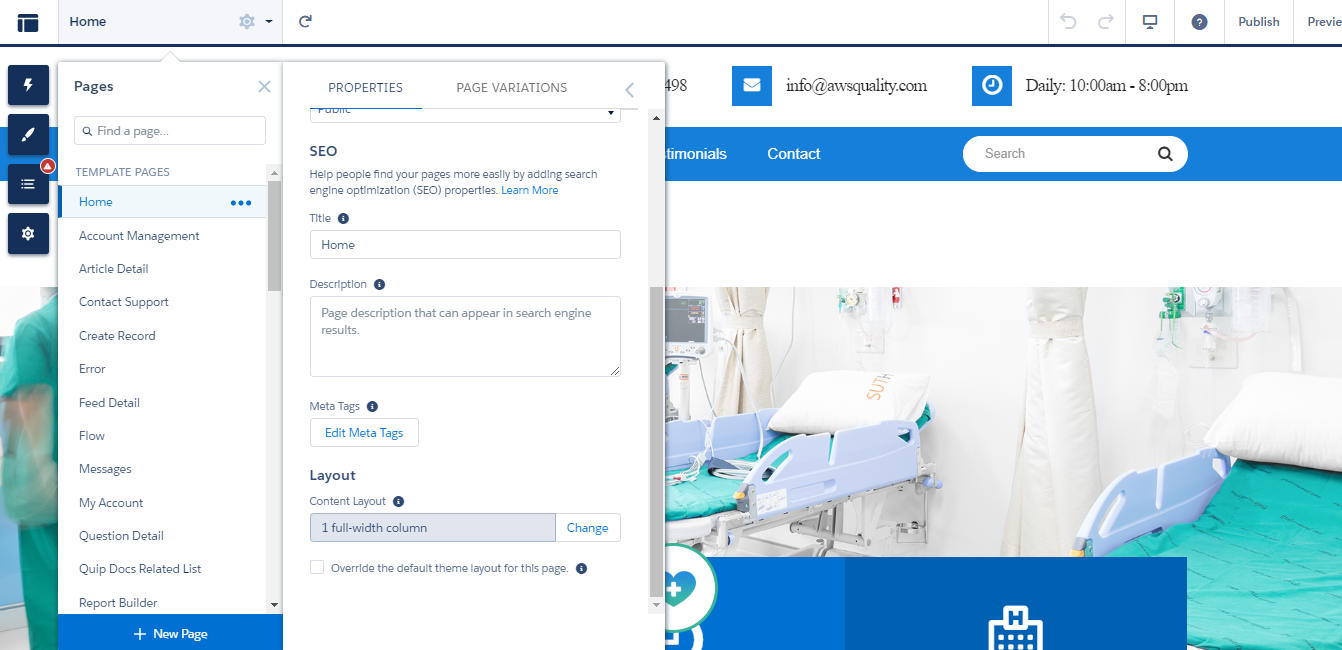
- Then from the builder, we have to drag and drop our Components like
- Header

- Navigation

- Home Page
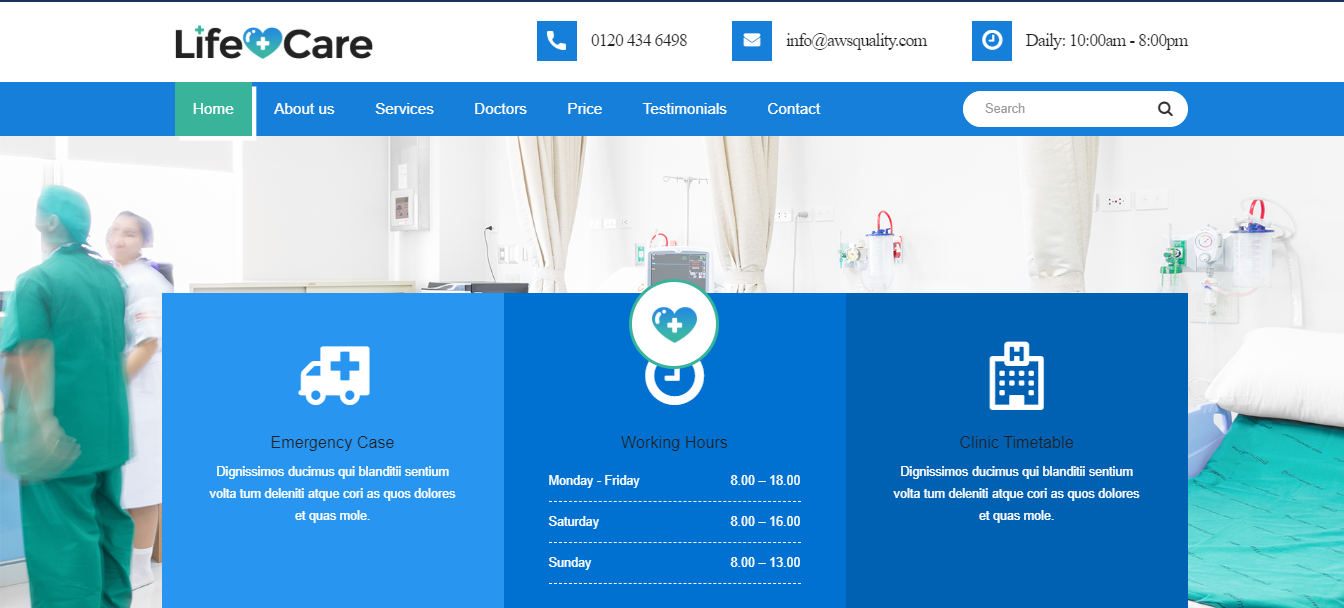
- About Us

- Services
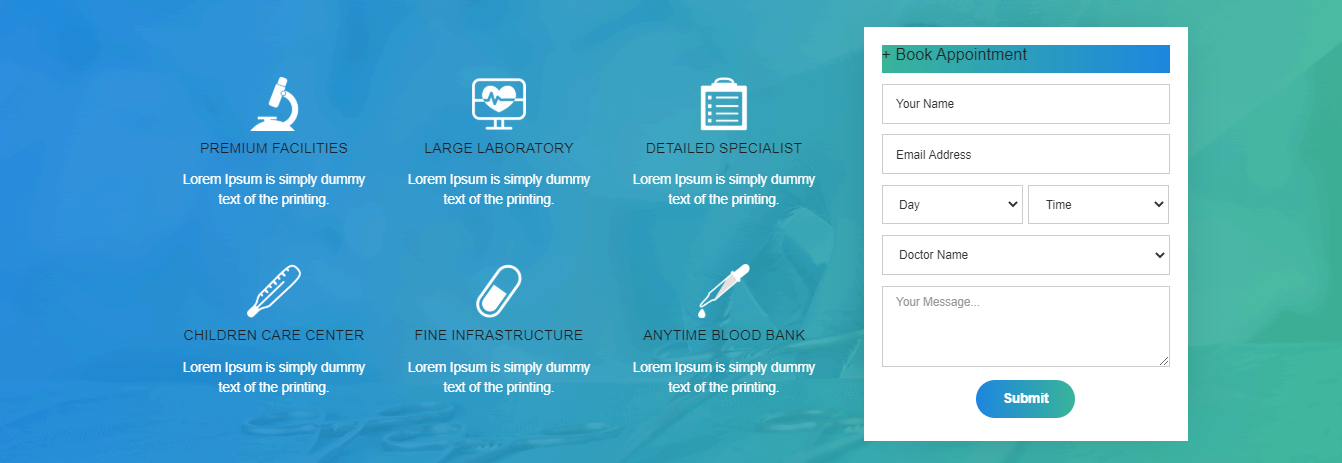
- Doctors
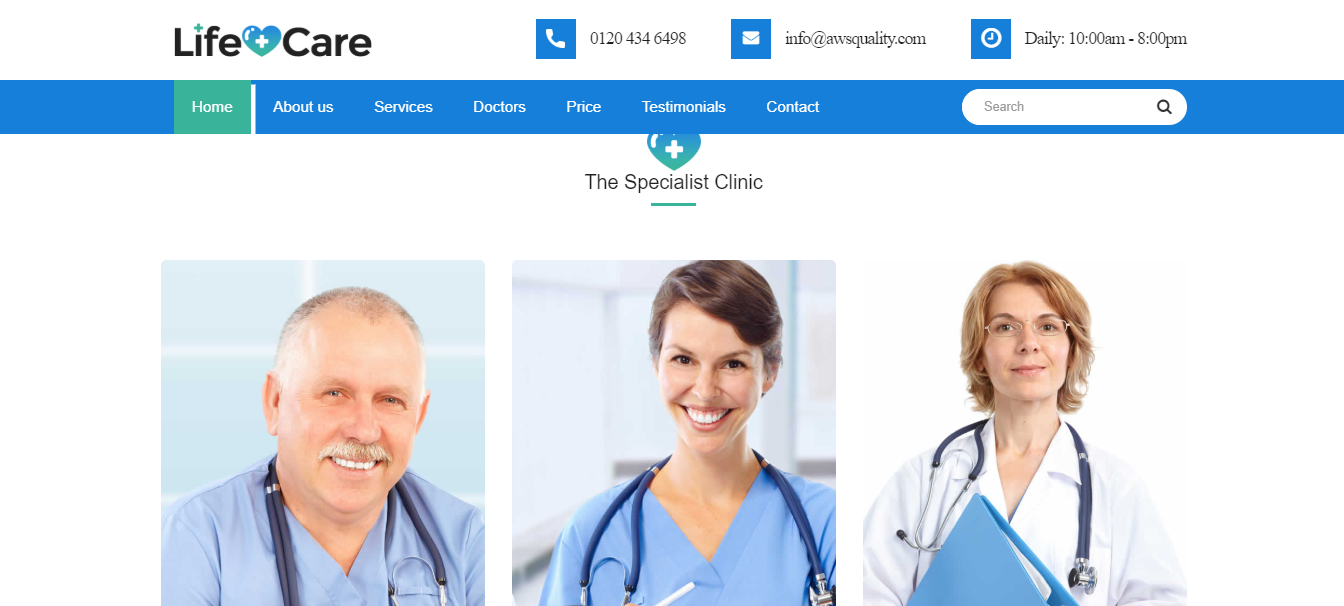
- Price
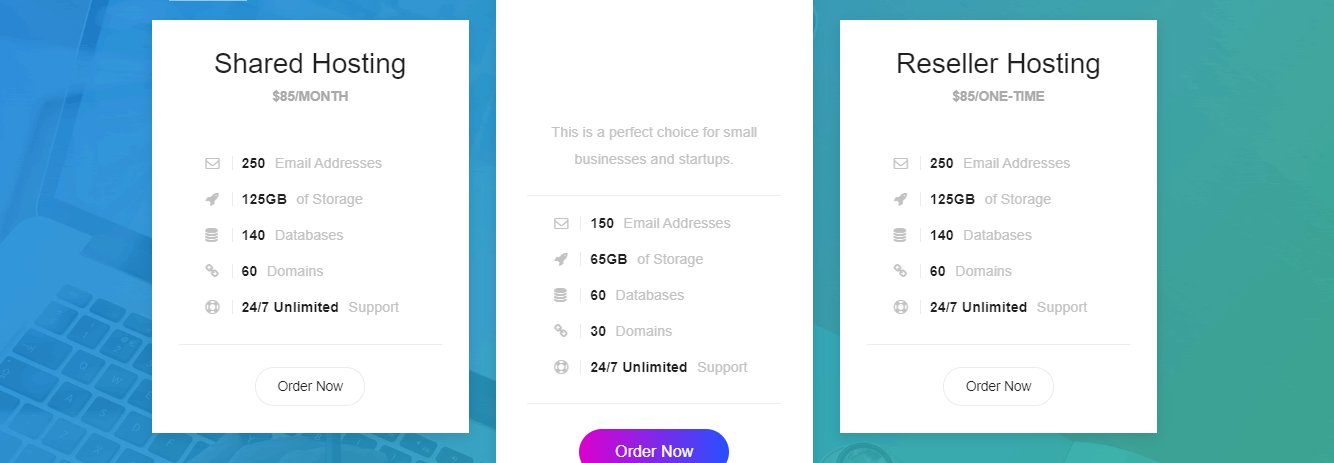
- Testimonials
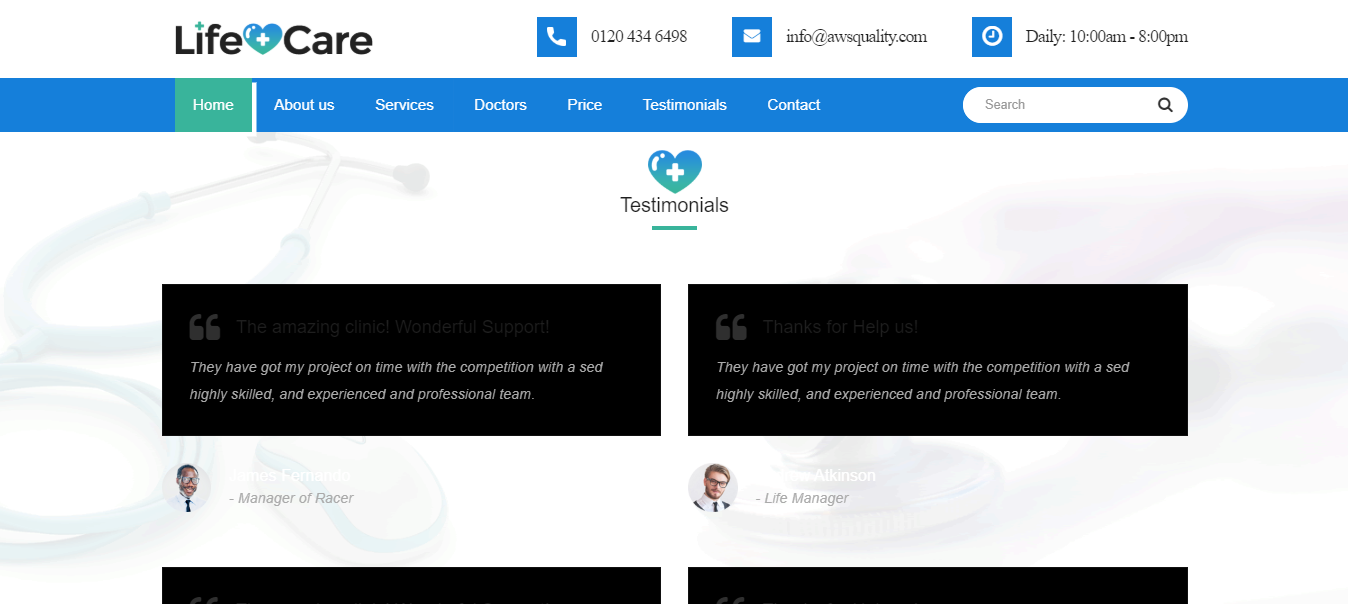
- Contact Us
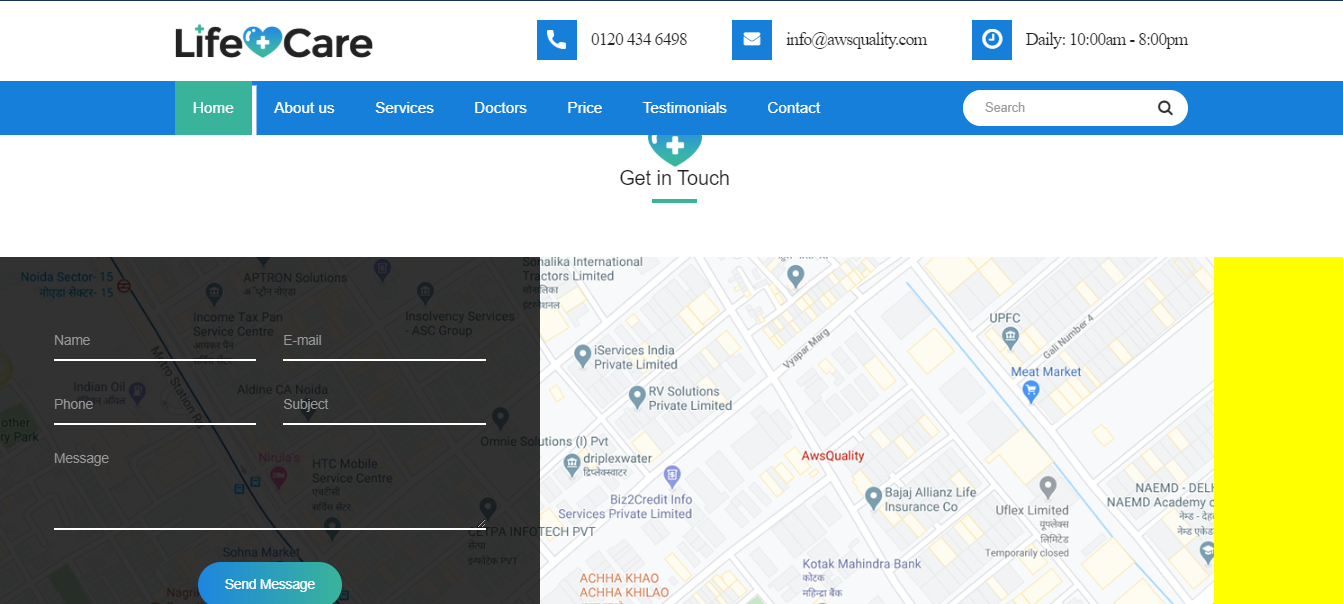
- Footer

- Then click on Publish on the top of the Builder page.
- Then check for the community from Community URL(https://demoawsquality-dev-ed.my.salesforce.com/servlet/networks/switch?networkId=0DB5w00000003go&).
Conclusion
Customization and Branding reflect your brand and extend your online customer experience. Customization and branding help in creating stunning, simple-to-use environments that are an interactive extension of your brand. If you have any queries, feel free to contact us. Our Salesforce consultants team will help you out.





Like!! I blog quite often and I genuinely thank you for your information. The article has truly peaked my interest.