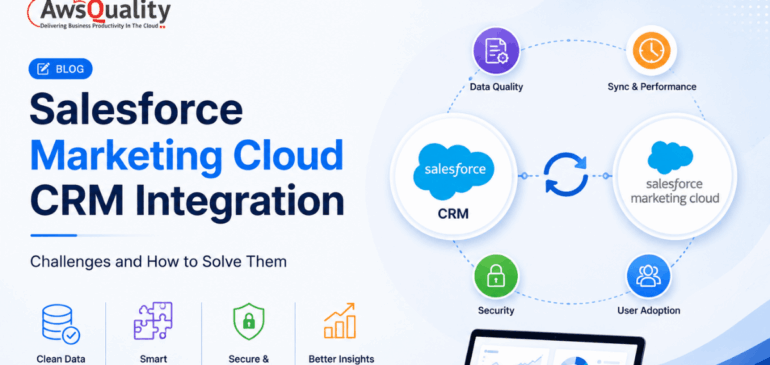
Salesforce Marketing Cloud Integration Challenges and How to Solve Them
Customer expectations have never been higher. Today’s customers expect personalized, timely, and consistent interactions across every touchpoint—whether they’re opening an email, browsing a website, engaging on social media, or speaking with a sales representative. To deliver these experiences, businesses increasingly integrate Salesforce Marketing Cloud (SFMC) with their Salesforce CRM. This…
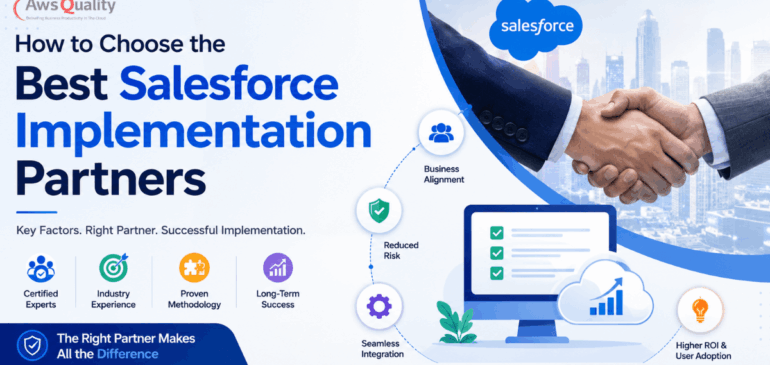
How to Choose the Best Salesforce Implementation Partners
Implementing Salesforce is one of the most impactful investments an organization can make to improve customer relationships, streamline operations, and drive digital transformation. However, the success of a Salesforce implementation depends not only on the platform itself but also on the expertise of the implementation partner you choose. According to…
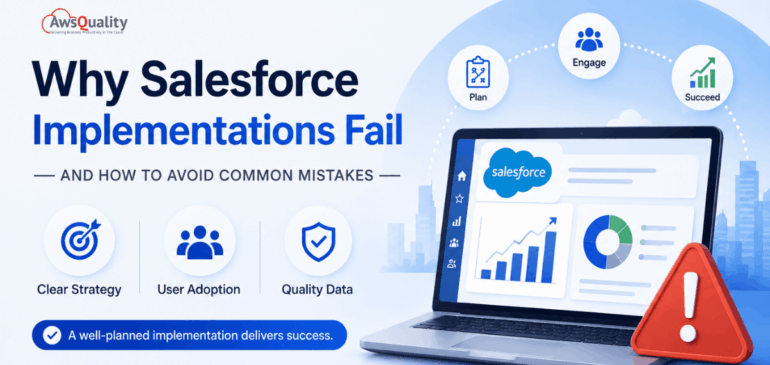
Why Salesforce implementations fail — and how to avoid common mistakes
Salesforce is one of the world’s most powerful CRM platforms, helping businesses streamline sales, customer service, marketing, and operations. However, simply purchasing Salesforce doesn’t guarantee success. Many organizations invest significant time and resources into implementation, only to face low user adoption, budget overruns, missed deadlines, and disappointing business outcomes. Up…
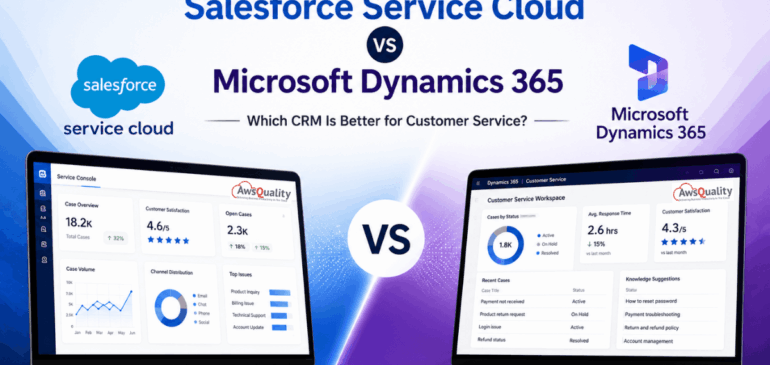
Salesforce Service Cloud vs Microsoft Dynamics 365: Which CRM Is Better for Customer Service?
The choice between Salesforce and Dynamics 365 isn’t really about features anymore — both are feature-complete for nearly every use case. Instead, it’s about ecosystem fit, total cost of ownership, and your organization’s ability to drive adoption. That framing matters enormously for any organization evaluating customer service platforms nowadays. Both…
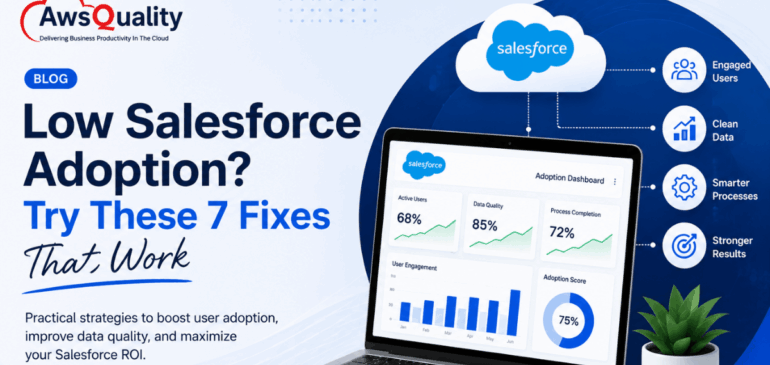
Low Salesforce Adoption? Try These 7 Fixes That Work
Salesforce is the world’s number one CRM platform. It holds a 20.7% share of the global CRM market, serves more than 150,000 customers, and can deliver an average return of $8.71 for every $1 invested when properly adopted. The ROI case is not in dispute. And yet — the average…

Top Salesforce Integrations Every Growing Business Needs
As businesses grow, so does the complexity of managing customers, sales, marketing, finance, support, and operations. While Salesforce serves as a powerful CRM platform, its true potential is unlocked when it integrates seamlessly with the tools your teams use every day. Modern businesses rely on multiple applications to run efficiently….
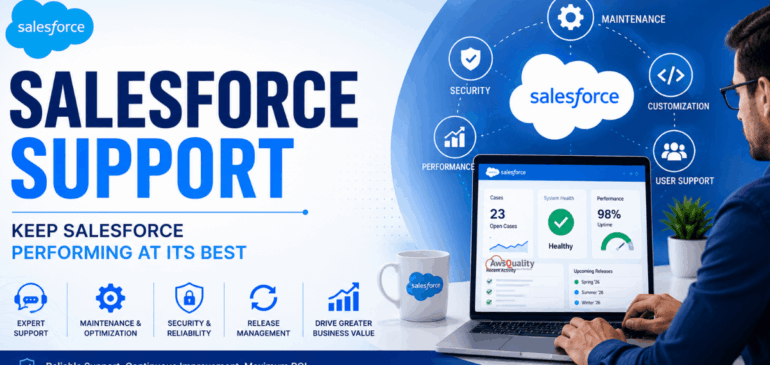
Guide to Hiring Salesforce Support and Maintenance Developers
Introduction: Why “Day 2” Is Harder Than Day 1 Buying Salesforce is the easy part. The real challenge starts on “Day 2” when the initial excitement fades and your team begins hitting technical walls. Most organizations invest significantly in their initial Salesforce implementation — carefully selecting a consulting partner, configuring…
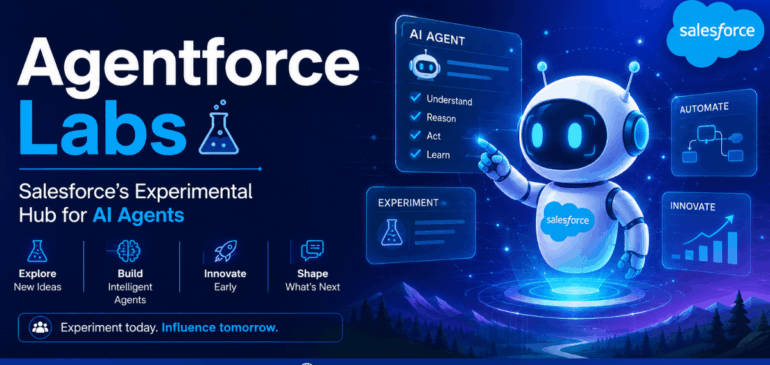
What is Agentforce Labs? Salesforce’s Experimental Hub for AI Agents
Artificial Intelligence is rapidly changing how businesses operate, and Salesforce is positioning itself at the center of this transformation. While many organizations are still exploring AI-powered chatbots and automation tools, Salesforce is already investing in a future where autonomous AI agents can perform meaningful business tasks with minimal human intervention….
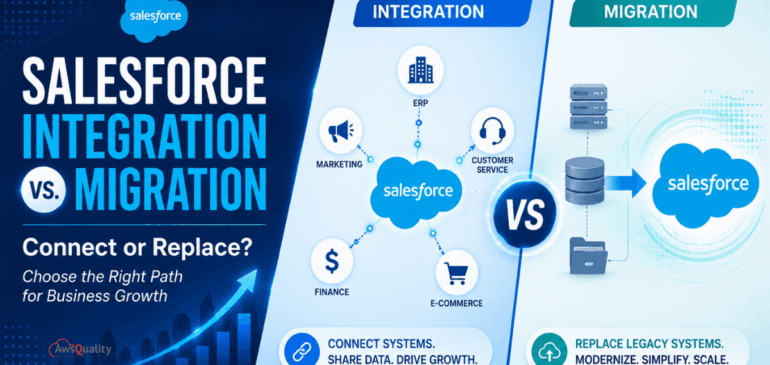
Salesforce Integration v/s. Migration: Which Strategy Works Best for Your Business
As organizations continue their digital transformation journeys, Salesforce has become a critical platform for managing customer relationships, automating processes, and driving business growth. However, many businesses face a common challenge: how to connect Salesforce with existing systems or move entirely from legacy platforms to Salesforce. This often leads to an…
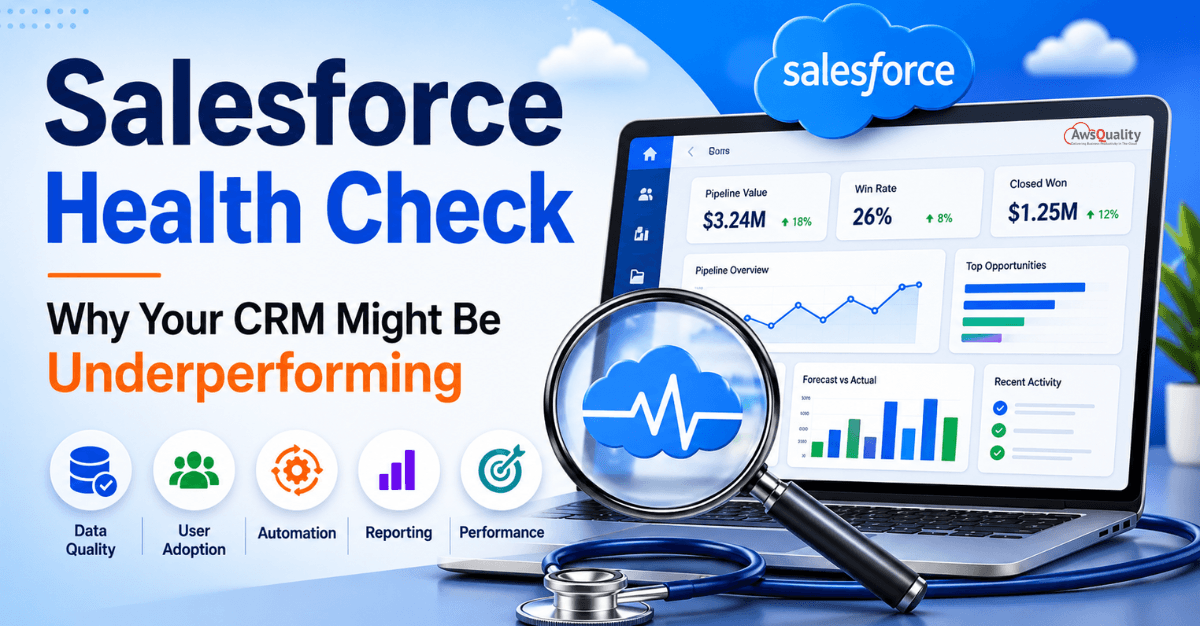
Salesforce Health Check: Why Your CRM Might Be Underperforming
You invested heavily in Salesforce. Your team uses it daily. So why does it feel like the results just aren’t matching the promise? The answer is rarely the platform itself — it’s almost always what’s happening inside it. Salesforce is the world’s leading CRM platform — and for good reason….