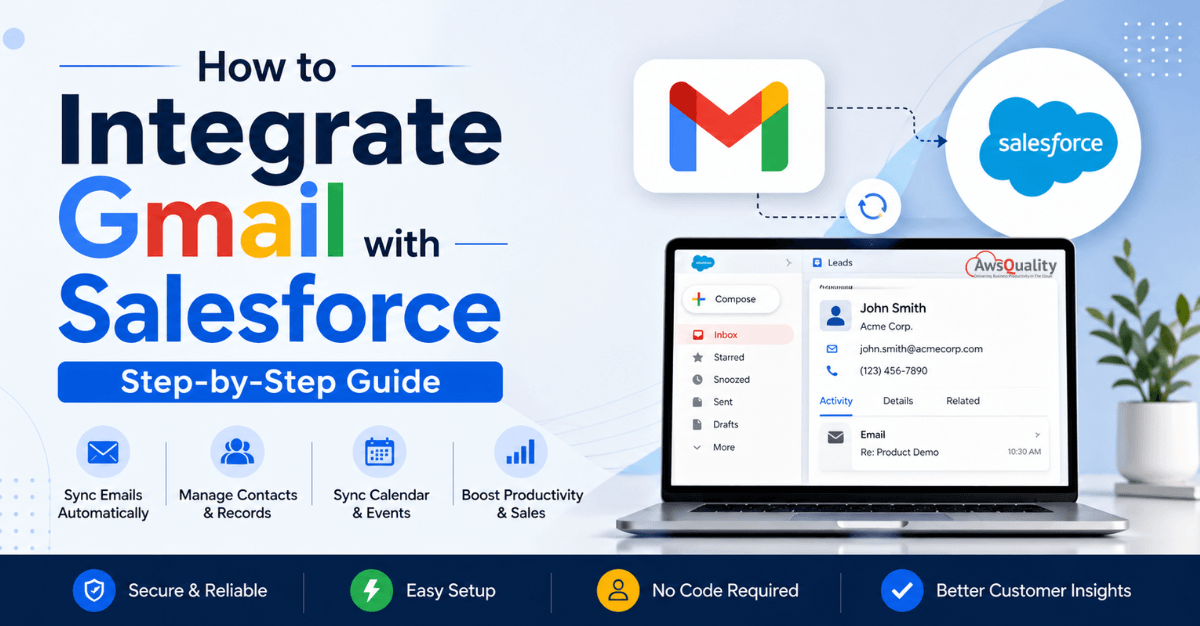
How to Integrate Gmail with Salesforce (Step-by-Step Guide)
For sales teams, customer success managers, and service professionals who spend significant portions of their day in both Gmail and Salesforce, the friction of working across two separate platforms is a constant productivity drain. An email arrives in Gmail from a prospect — to log it in Salesforce, the rep…
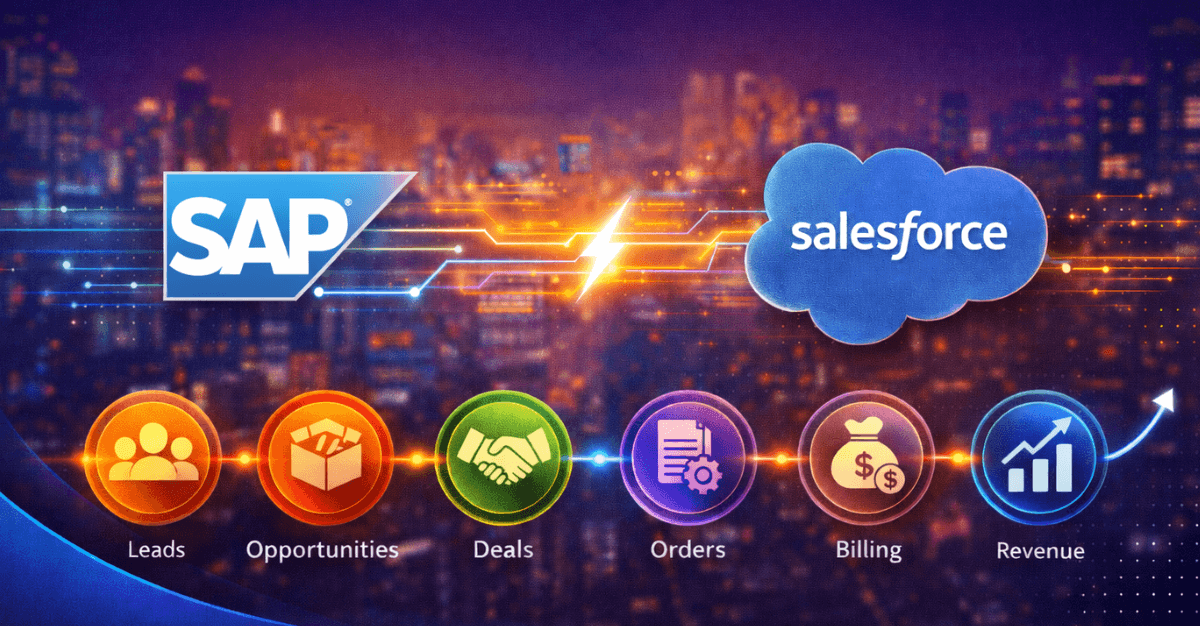
From Leads to Cash: How SAP + Salesforce Integration Transforms Your Pipeline
Every business has a revenue journey. It starts the moment a potential customer first appears on your radar — a website enquiry, a referral, a trade show conversation — and it ends when that customer pays their invoice and the cash lands in your account. In between those two points…
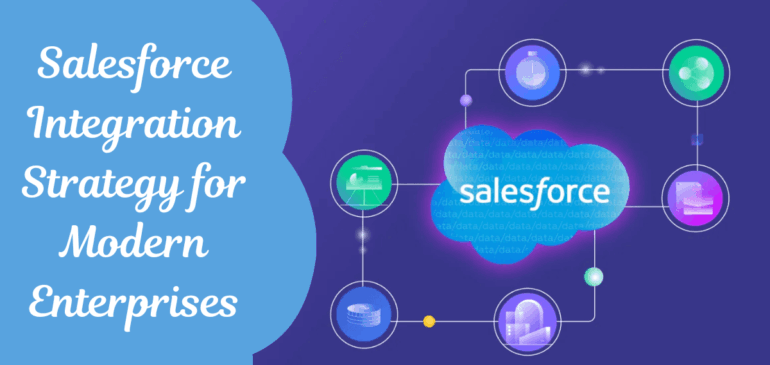
Salesforce Integration Strategy for Modern Enterprises
In today’s fast-evolving digital landscape, enterprises are no longer operating in isolated systems. Data flows across multiple platforms?CRM, ERP, marketing tools, customer support systems, and more. To stay competitive, businesses must ensure that all these systems work seamlessly together. This is where a well-defined Salesforce integration strategy becomes critical. Salesforce,…
External Services in Salesforce: Connect Any REST API Without Writing a Line of Apex
Salesforce has evolved far beyond a traditional CRM platform. Today, it acts as a powerful integration hub that connects multiple systems, applications, and data sources. One of the most powerful yet underutilized features in Salesforce is External Services. External Services allow you to connect to REST APIs and integrate external…

Salesforce AI Agents: The Future of Enterprise Automation
Enterprise organizations are constantly looking for ways to improve efficiency, reduce operational costs, and deliver better customer experiences. Over the past decade, automation has become a critical part of this transformation. Businesses have used workflow automation, robotic process automation (RPA), and AI-powered tools to streamline operations and eliminate repetitive tasks….

5 Proven Salesforce Integration Methods to Power Business Growth in the UAE
The UAE has quietly become one of the most digitally ambitious business environments in the world. From the free zones of Dubai to the industrial corridors of Abu Dhabi, companies here are investing in technology at a pace that outstrips most comparable markets globally. Salesforce sits at the centre of…

15 Salesforce Consulting Partner Tips: Guide to Smart Integration
In today’s digital-first business environment, organizations rely heavily on connected systems to deliver seamless customer experiences and efficient operations. Salesforce, being a leading CRM platform, plays a central role in managing customer relationships, sales pipelines, and business data. However, the true value of Salesforce is realized when it is integrated…

Salesforce Integration Companies vs. In-House Teams: What Works Better?
Why Salesforce Integration Matters for Modern Businesses-?Salesforce is more than just a CRM platform?it’s the digital backbone of many U.S. enterprises. From managing sales pipelines and automating marketing to streamlining customer service and enabling analytics, Salesforce helps businesses scale efficiently. But here’s the catch: without proper integration, Salesforce becomes a…
Salesforce Integration Services: Complete Guide for CTOs and IT Leaders
As organizations continue to adopt cloud platforms and digital tools, the number of systems used within a business has grown rapidly. CRM platforms, ERP systems, marketing automation tools, customer support software, and data platforms often operate independently. While each system plays an important role, disconnected platforms can create data silos,…

5 Signs You Need a Salesforce Integration Partner — Before It Costs You Clients
Salesforce is a powerful platform, but its real value depends on how well it connects with the rest of your business ecosystem. Many organizations invest heavily in Salesforce but fail to integrate it effectively with other systems like ERP, marketing tools, support platforms, or data warehouses. At first, things seem…