In modern software development, speed and reliability are not a trade-off — they are a shared expectation. Development teams are expected to ship features faster, fix bugs sooner, and maintain high quality across every release. Meeting these expectations manually is nearly impossible at scale. That's why CI/CD pipelines have become one of the most essential practices in the software engineering world.
CI/CD stands for Continuous Integration and Continuous Delivery (or Continuous Deployment). Together, they form an automated pipeline that takes code from a developer's machine all the way to production — with testing, validation, and deployment baked in at every step. When built correctly, a CI/CD pipeline eliminates the chaos of manual releases, reduces human error, and gives development teams the confidence to deploy multiple times a day without anxiety.
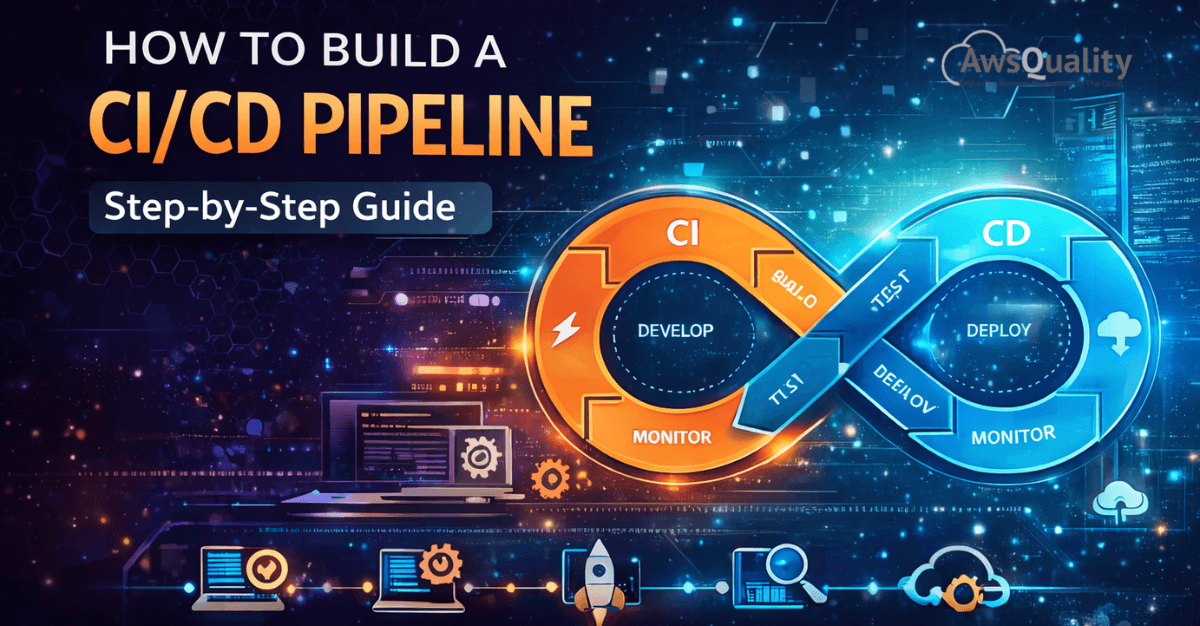
This guide walks you through exactly how to build a CI/CD pipeline from the ground up — step by step — whether you're a solo developer, a growing startup, or an enterprise engineering team.
What Is a CI/CD Pipeline?
Before diving into the build process, it's worth clarifying what a CI/CD pipeline actually is.
- Continuous Integration (CI) is the practice of automatically integrating code changes from multiple contributors into a shared repository several times a day. Each integration triggers an automated build and test sequence, catching bugs early before they compound.
- Continuous Delivery (CD) extends CI by automatically preparing every validated code change for release to a staging or production environment. The deployment itself may still require a manual approval step.
- Continuous Deployment takes it one step further — every change that passes automated tests is deployed to production automatically, with no human intervention required.
A CI/CD pipeline is the automated workflow that connects all of these stages — from code commit to live deployment — in a seamless, repeatable chain.
Read: Why Most DevOps Transformations Fail (And How to Fix Them)
Why Build a CI/CD Pipeline?
The benefits of a well-structured CI/CD pipeline are substantial and immediate. Development teams experience faster release cycles, since automation removes the manual effort from building, testing, and deploying code. Bug detection improves significantly because issues are caught at the integration stage rather than discovered in production. Collaboration becomes smoother as developers work from a shared, continuously validated codebase. And perhaps most importantly, the overall risk of each deployment shrinks — because changes are smaller, more frequent, and thoroughly tested before they ever reach users.
Step 1: Define Your Pipeline Goals and Scope
The first step isn't technical — it's strategic. Before you write a single configuration file, you need to define what your pipeline needs to accomplish.
Ask yourself: What is the primary application you're building (web app, mobile app, microservice, API)? What languages and frameworks are involved? Where will the application be deployed — cloud, on-premises, or containerized infrastructure? What does "done" mean for a successful deployment in your organization?
Answering these questions shapes every decision that follows — from tool selection to environment configuration. A pipeline for a Python microservice deployed on AWS Lambda looks very different from one for a React frontend deployed via Kubernetes. Starting with clarity on scope prevents costly rework down the line.
Step 2: Choose Your CI/CD Tools
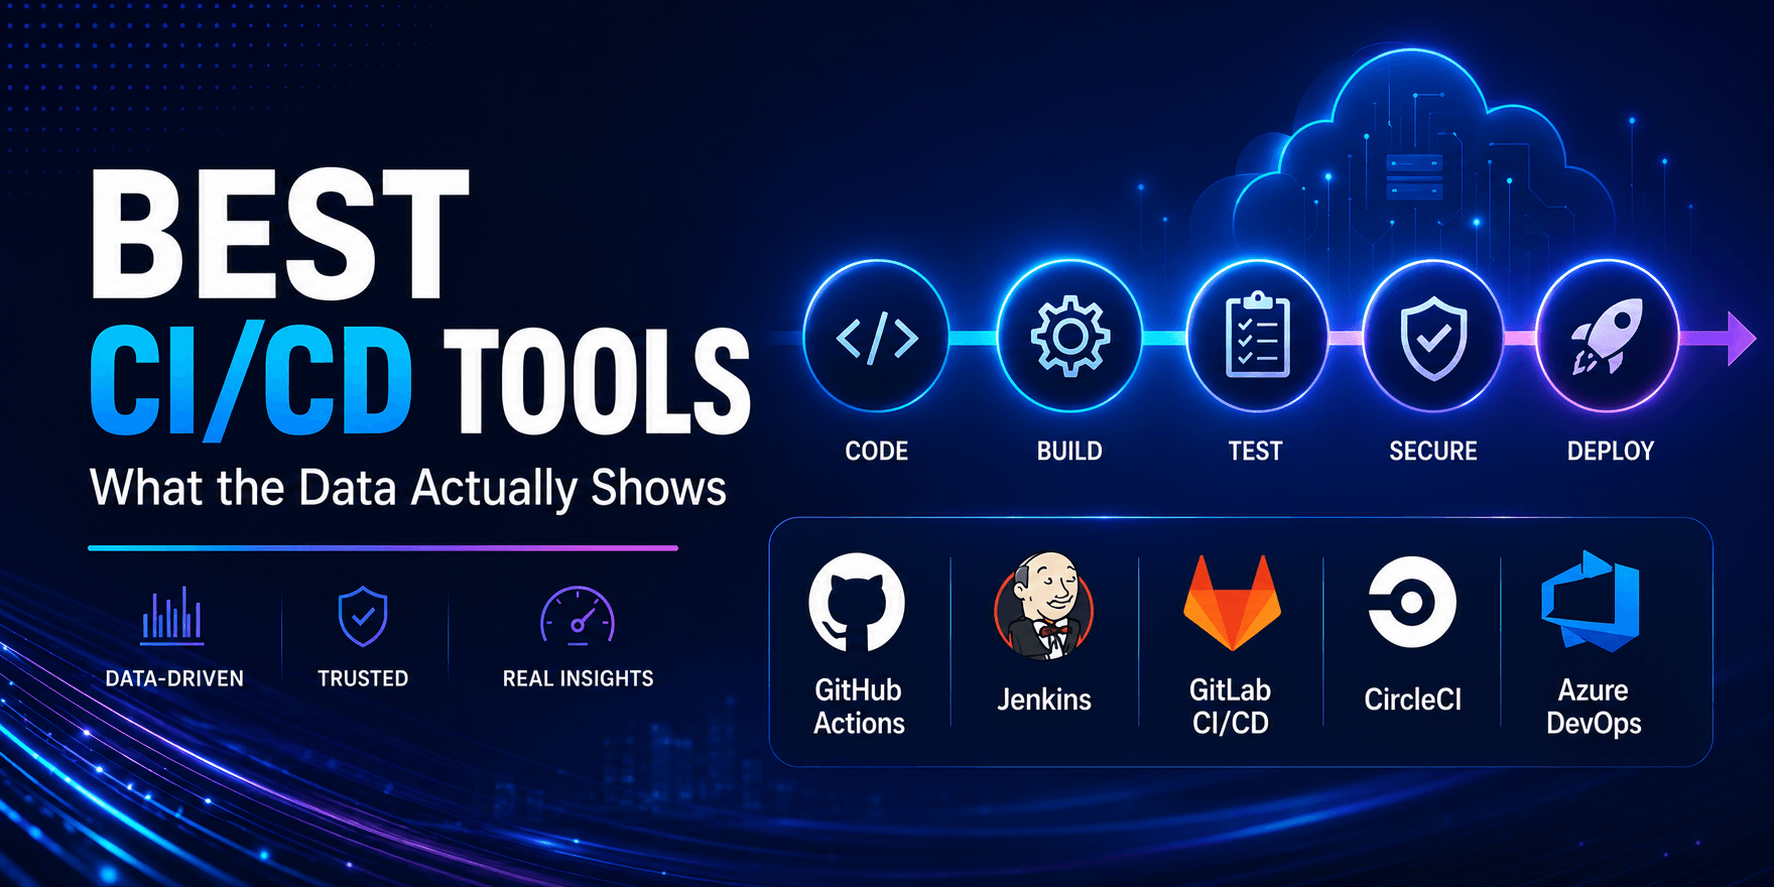
The CI/CD ecosystem is rich with options. Your choice of tools will depend on your existing infrastructure, team preferences, and budget. Here are the most widely used platforms:
GitHub Actions is an excellent choice for teams already using GitHub. It's tightly integrated with the repository, easy to configure with YAML workflows, and has a massive library of pre-built actions. It's ideal for teams of all sizes.
GitLab CI/CD offers a powerful built-in pipeline system for GitLab users, with robust support for Docker, Kubernetes, and multi-environment deployments. It's particularly strong for self-hosted or enterprise environments.
Jenkins is the veteran of the CI/CD world — open-source, highly extensible, and capable of handling virtually any pipeline configuration. It requires more setup and maintenance than cloud-native alternatives but offers unmatched flexibility.
CircleCI and Travis CI are cloud-hosted options that are quick to set up and developer-friendly, popular among startups and open-source projects.
AWS CodePipeline, Azure DevOps, and Google Cloud Build are native CI/CD services for teams deeply invested in their respective cloud ecosystems.
For this guide, we'll use concepts applicable across platforms, with examples skewed toward GitHub Actions given its widespread adoption.
Step 3: Set Up Version Control and Branching Strategy
A CI/CD pipeline is only as good as the version control workflow it's built on. If your team doesn't already have a consistent Git branching strategy, now is the time to establish one.
The most common approach is Git Flow or a simplified variant: a main (or master) branch that always reflects production-ready code, a develop branch for integration, and short-lived feature branches for individual changes. Pull requests serve as the gateway between feature branches and the main codebase, and CI checks run automatically on every pull request.
Some teams prefer trunk-based development, where all developers commit frequently to a single main branch using feature flags to hide incomplete work. This approach works especially well with Continuous Deployment.
Whatever strategy you choose, the key principle is this: every code push should trigger your pipeline automatically. Version control is the starting gun.
Step 4: Build the CI Stage — Automated Build and Testing
The CI stage is the heart of the pipeline. When a developer pushes code or opens a pull request, the pipeline automatically kicks off a sequence that typically includes the following:
Source checkout — the pipeline pulls the latest code from the repository into a clean build environment.
Dependency installation — all required libraries, packages, and modules are installed fresh, ensuring the build is reproducible.
Code compilation or build — for compiled languages like Java or Go, the code is compiled. For interpreted languages like Python or JavaScript, this step may involve bundling or transpiling.
Static analysis and linting — automated tools scan the code for style violations, potential errors, and security vulnerabilities before any tests run.
Unit testing — individual functions and components are tested in isolation. A robust unit test suite is foundational to pipeline reliability.
Integration testing — tests verify that different parts of the system work correctly together, often against real or mocked dependencies.
Code coverage reporting — the pipeline measures what percentage of the codebase is covered by tests, flagging significant drops as a failure condition.
If any of these steps fail, the pipeline stops and notifies the developer immediately. This fast feedback loop is what makes CI so valuable — problems are caught within minutes of introduction, not days or weeks later.
Step 5: Containerize Your Application
While not strictly mandatory, containerization has become a standard part of modern CI/CD pipelines. Building your application into a Docker image during the CI stage ensures that the exact same artifact tested in CI is what gets deployed to staging and production — eliminating the classic "it works on my machine" problem.
In your pipeline configuration, this step builds the Docker image, tags it with the commit SHA or version number, and pushes it to a container registry such as Docker Hub, Amazon ECR, or Google Container Registry. This creates a versioned, immutable artifact that can be reliably deployed across any environment.
Step 6: Build the CD Stage — Deployment to Staging
Once the CI stage passes and a deployable artifact is ready, the CD stage takes over. The first deployment target is typically a staging environment — a near-identical replica of production where the application is deployed and subjected to further testing.
At this stage, the pipeline may run end-to-end tests, smoke tests, or performance tests against the staging deployment. These tests validate real-world behavior — user flows, API response times, database interactions — in conditions that closely mirror production.
Many teams also incorporate manual approval gates at this point. A senior engineer or product manager reviews the staging deployment before the pipeline proceeds to production. This is a common pattern in Continuous Delivery, where the decision to go live remains a human one.
Step 7: Deploy to Production
With staging validated and approvals in place (or automatically, if practicing Continuous Deployment), the pipeline deploys the application to production. Several deployment strategies are worth understanding here.
A rolling deployment gradually replaces old instances with new ones, ensuring zero downtime. A blue-green deployment maintains two identical production environments — one live ("blue"), one idle ("green") — and routes traffic to the new version ("green") only after it's fully ready, making rollbacks instant. A canary deployment releases the new version to a small percentage of users first, monitoring for errors before rolling out to everyone.
Your choice of deployment strategy should reflect your application's risk tolerance and uptime requirements. For most teams starting out, a rolling deployment is a practical and safe default.
Step 8: Implement Monitoring and Alerts
A CI/CD pipeline doesn't end at deployment. Production monitoring is the final, crucial layer of the system. Integrate your pipeline with monitoring tools like Datadog, New Relic, Prometheus, or AWS CloudWatch to track application performance, error rates, and system health after every deployment.
Configure alerts to notify your team immediately if error rates spike, latency increases, or the system behaves abnormally following a release. Some teams implement automated rollback triggers — if key metrics deteriorate beyond a threshold within minutes of deployment, the pipeline automatically reverts to the previous version.
This closes the loop: from code commit, through build, test, and deployment, to post-release validation. Every stage of the software lifecycle is covered, automated, and visible.
Step 9: Iterate and Improve
Building a CI/CD pipeline is not a one-time project — it's an ongoing practice. As your codebase grows, your team expands, and your deployment complexity increases, your pipeline will need to evolve.
Regularly review pipeline performance metrics: How long does the full pipeline take to run? Where are the bottlenecks? Are there flaky tests causing false failures? Are secrets and credentials properly managed using a vault or secrets manager? Are build caches being used to speed up dependency installation?
Treat your pipeline with the same engineering rigor as your application code — version-controlled, documented, reviewed, and continuously improved.
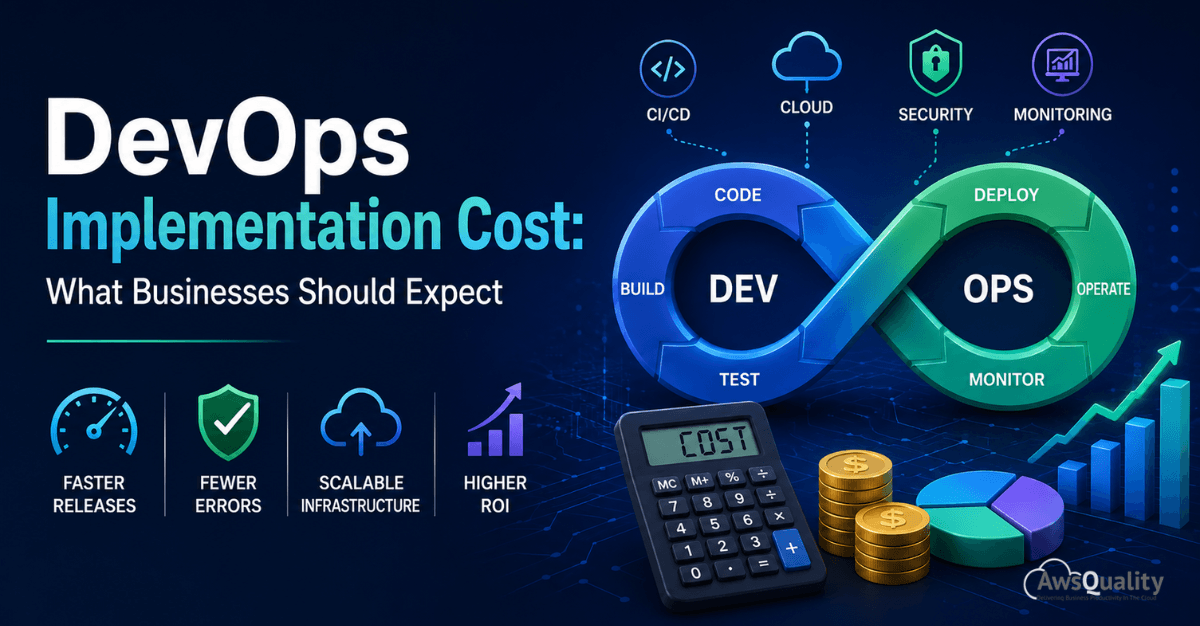
Check out: DevOps Implementation Cost - What Businesses Should Expect
Conclusion
Building a CI/CD pipeline is one of the highest-leverage investments an engineering team can make. It transforms software delivery from a stressful, error-prone event into a routine, reliable operation. By automating the path from code commit to production deployment — with testing, containerization, staged rollouts, and monitoring at every step — your team can ship faster, with more confidence, and with dramatically less risk.
The steps outlined in this guide provide a solid foundation regardless of your stack, team size, or industry. Start simple, get it working end to end, and then layer in sophistication over time. The goal isn't a perfect pipeline on day one — it's a culture of continuous improvement backed by automation.
Frequently Asked Questions (FAQs)
Q1. What's the difference between Continuous Delivery and Continuous Deployment?
Continuous Delivery means every code change is automatically prepared and validated for release, but a human must approve the final deployment to production. Continuous Deployment goes one step further — every change that passes automated tests is deployed to production automatically, without manual intervention.
Q2. Do I need to use Docker to build a CI/CD pipeline?
No, Docker is not strictly required. However, containerization is strongly recommended because it ensures consistency between environments and creates reproducible, portable build artifacts. It significantly reduces environment-related deployment failures.
Q3. How long should a CI/CD pipeline take to run?
Ideally, your CI stage should complete in under 10 minutes to maintain a fast feedback loop for developers. If pipelines run longer, consider parallelizing test suites, using build caches, and splitting large pipelines into stages that run concurrently.
Q4. Is CI/CD suitable for small teams or solo developers?
Absolutely. Even a single developer benefits enormously from automated testing and deployment. Tools like GitHub Actions make it straightforward to set up a basic pipeline in a matter of hours, and the time savings on even modest projects are significant.
Q5. How do I handle secrets and credentials securely in a pipeline?
Never hardcode secrets in configuration files or source code. Use your CI/CD platform's native secrets management (e.g., GitHub Secrets, GitLab CI variables) or a dedicated secrets manager like HashiCorp Vault or AWS Secrets Manager. Secrets should be injected at runtime as environment variables.
Q6. What should I do when a pipeline fails in production?
First, roll back to the last known good version to restore service. Then investigate the root cause using logs, monitoring data, and the pipeline's failure output. Improve the test coverage or deployment checks that should have caught the issue before it reached production, and re-deploy once the fix is validated.
Q7. Can CI/CD work with legacy or monolithic applications?
Yes, though it requires more planning. Legacy applications often have tight coupling and limited test coverage, which makes automation harder. The practical approach is to introduce CI/CD incrementally — start by automating builds and basic smoke tests, then gradually add test coverage and automate deployment stages over time.
 Bio
Bio